Install Certification Authority on Server 2012 R2
Microsoft’s Certification Authority is designed on Public Key Infrastructure, the CA is responsible for attesting to the identity of users, computers and organizations. the CA authenticates an entity and vouches for an identity by issuing a digital certificate which is signed by the CA. The CA also manages the revocation and renewal of certificates. Certificates are used everywhere to validate identities, most common application is the Internet where a web site is verified its authenticity with a certificate signed by a known CA. Certificates also play a major part in the internal organisation for security and authentication. Certificate based authentication is considered one of the most secure methods as its uses public key/private key to encrypt data/decrypt data. In wireless networking EAP-TLS uses certificates to authenticate users who join the network, users are individually issued certificates signed by the CA.
In this basic step-by-step guide we will install the certification Authority server role and configure it. Lets get started!
Install the Certification Authority Server Role
1. Login to Windows Server 2012 and launch “Server Manager” from the toolbar
![]()
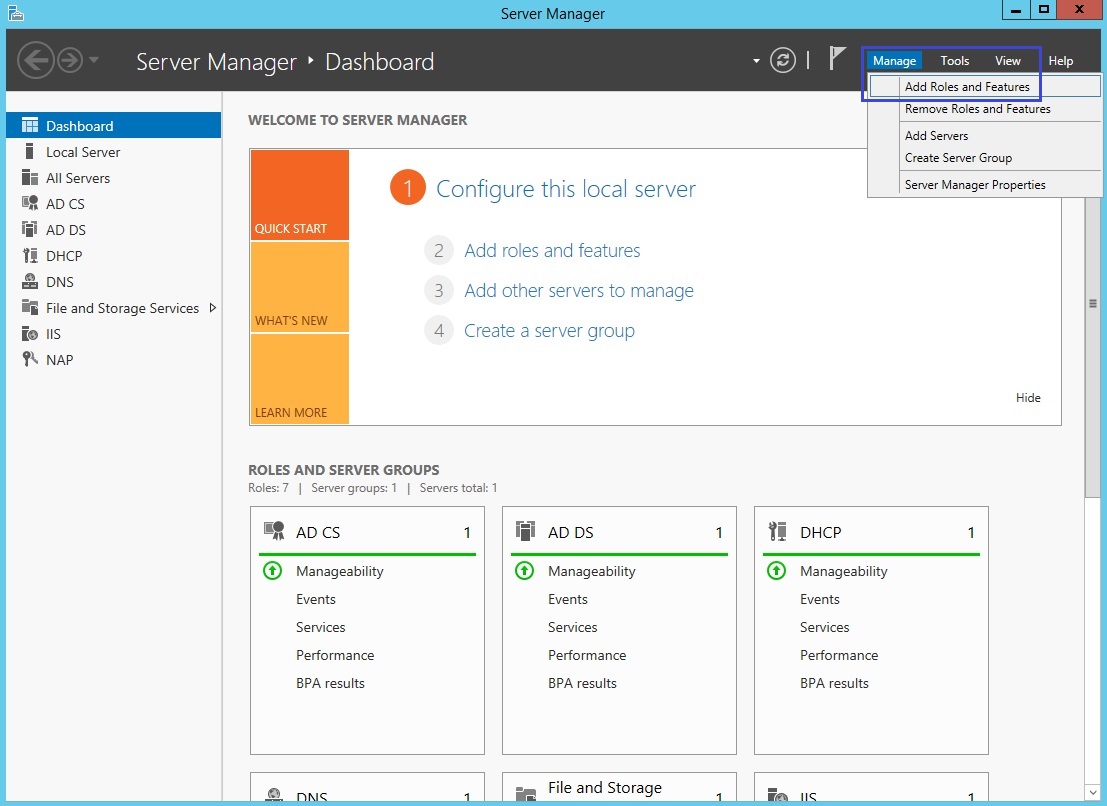
2. From the “Manage” button select “Add roles and features”
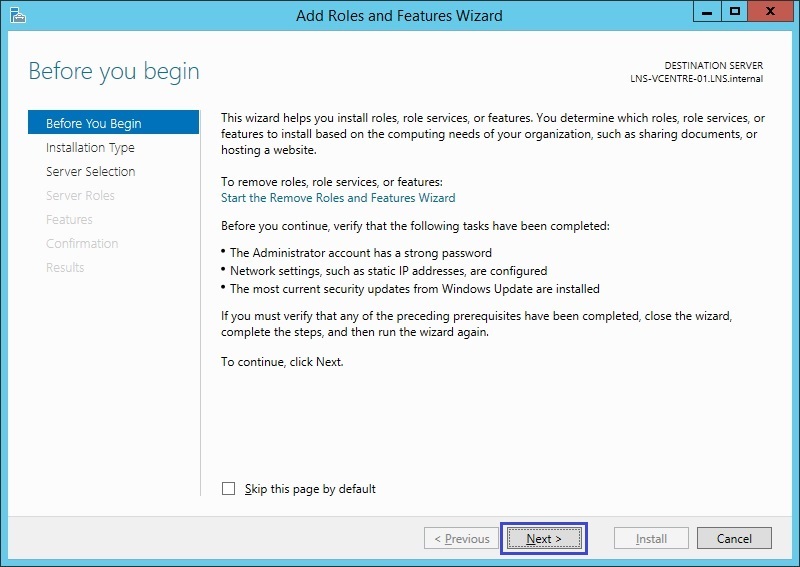
3. At the Wizard click “Next”
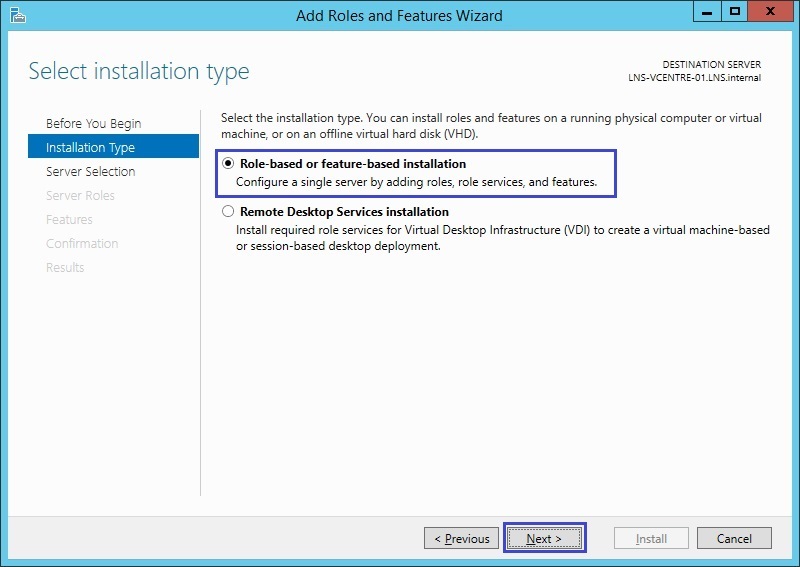
4. Select “Role-Based or Feature-based installation” and click “Next”
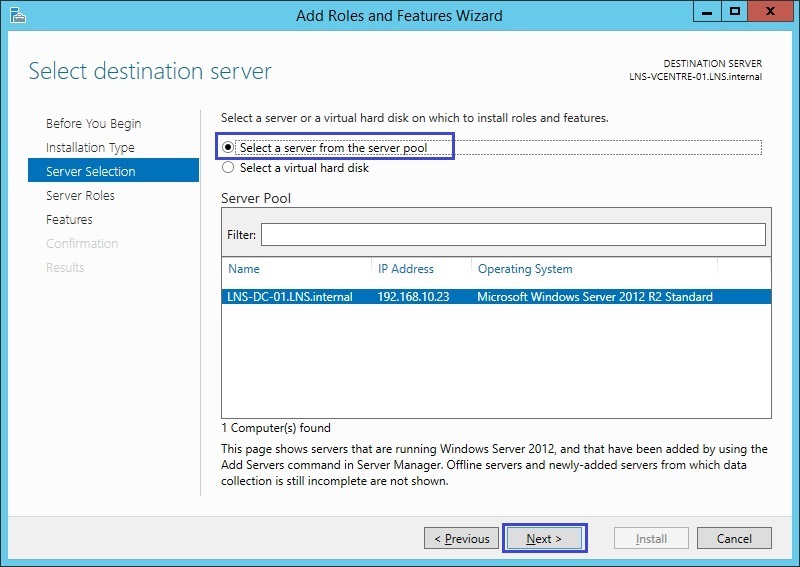
5. Click “Select a server from a server pool” and highlight the current server, click “Next”
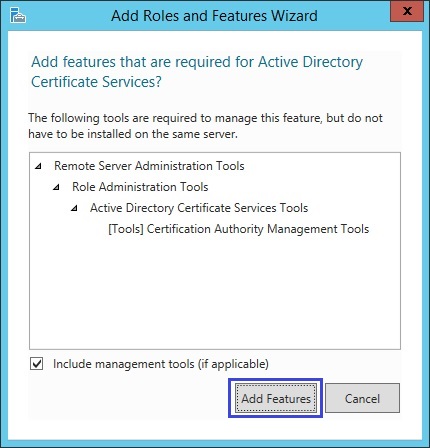
6. Tick the “Active Directory Certificate Services” box , a new Window will pop up click “Add Features”

7. Click “Next”
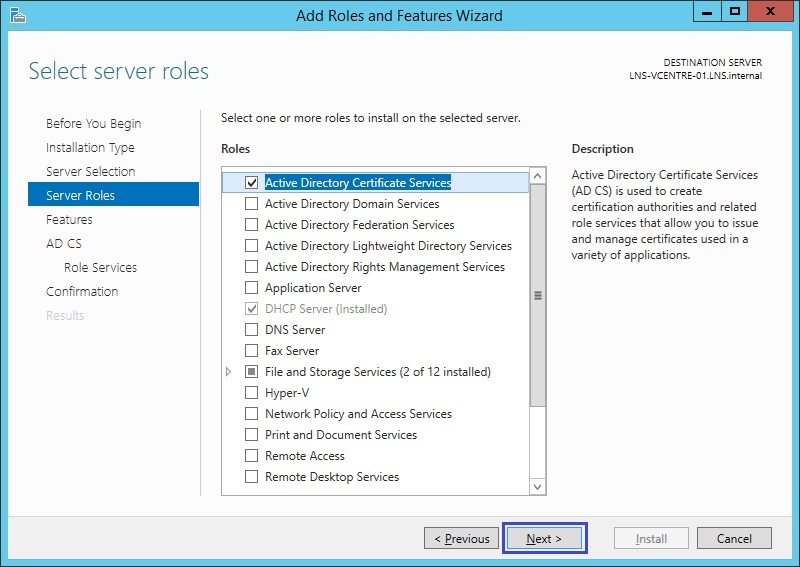
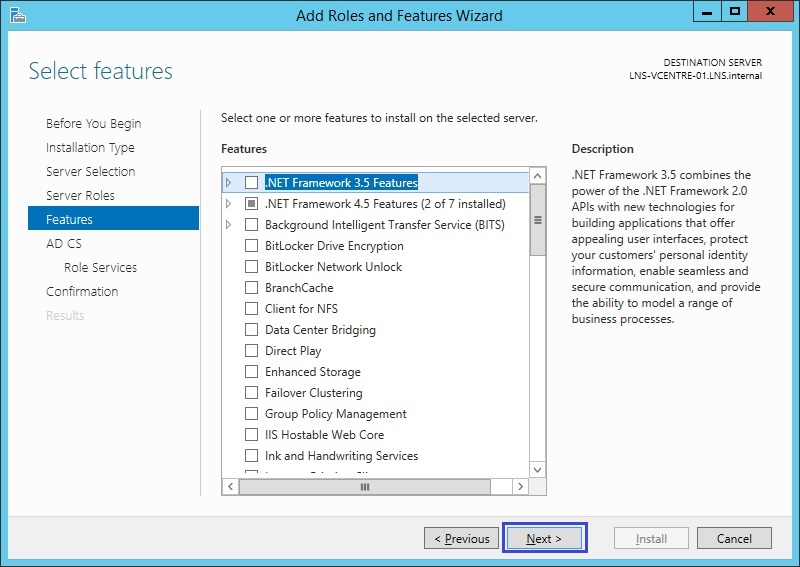
8. At the features window, click “Next” no need to select anything further as we are not installing any additional features
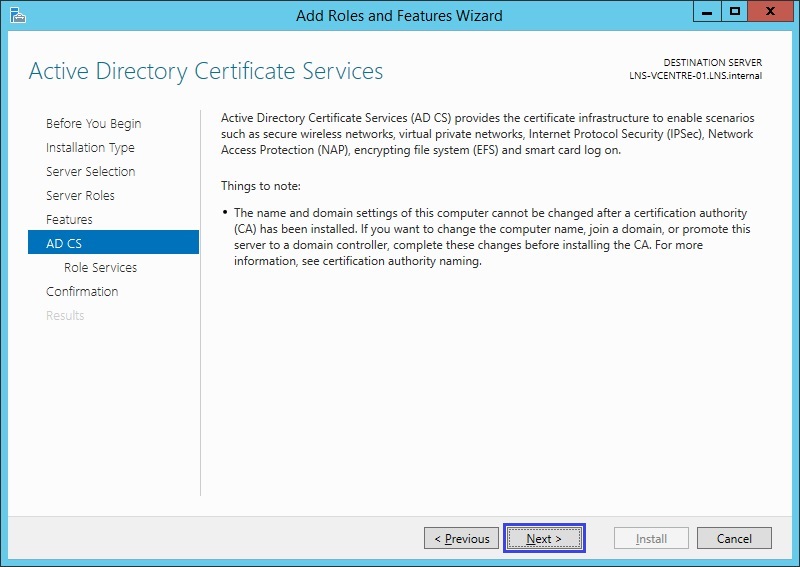
9. Have a quick read of the role description and click “Next”
10. From the role services list select “Certification Authority” and “Certification authority Web Enrolment”
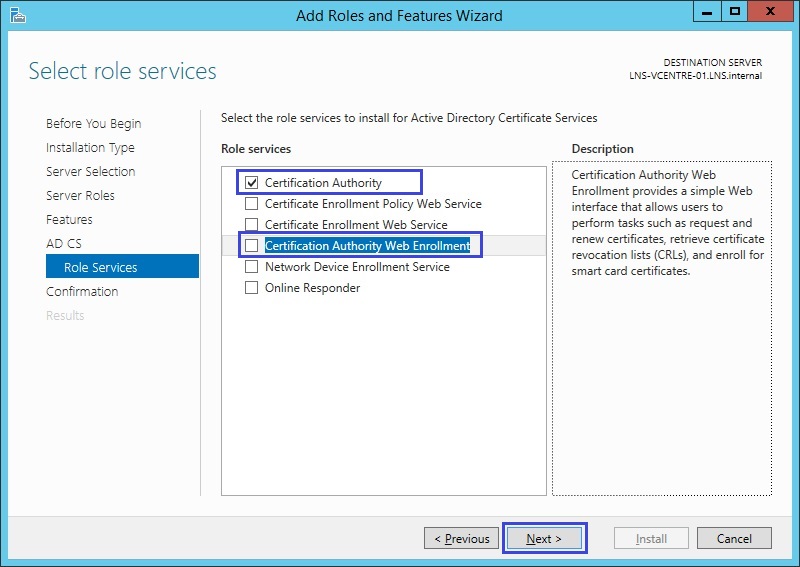
Click “Add Features” at the popup for IIS installation
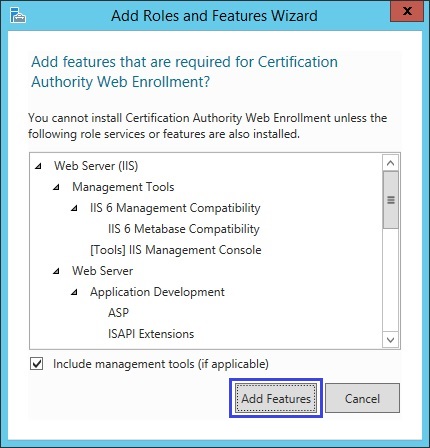
11. Click “Next”
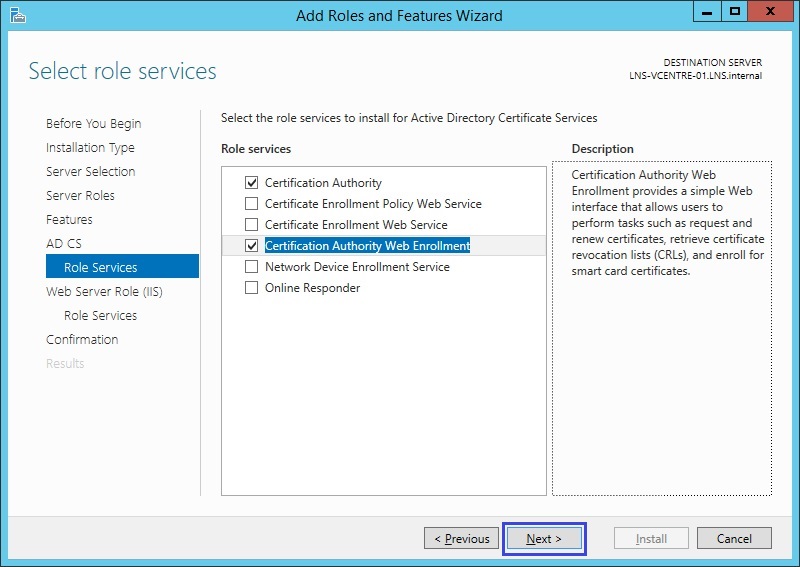
12. Click “Next”
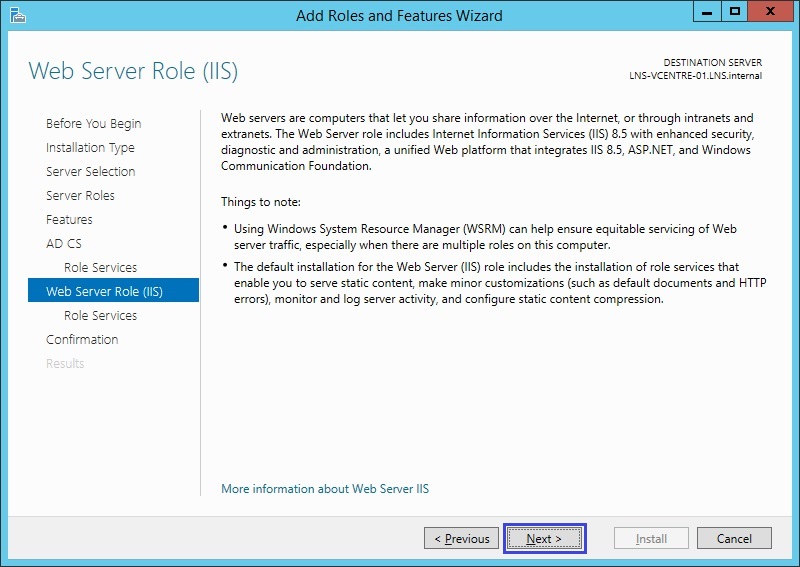
13. Click “Next”
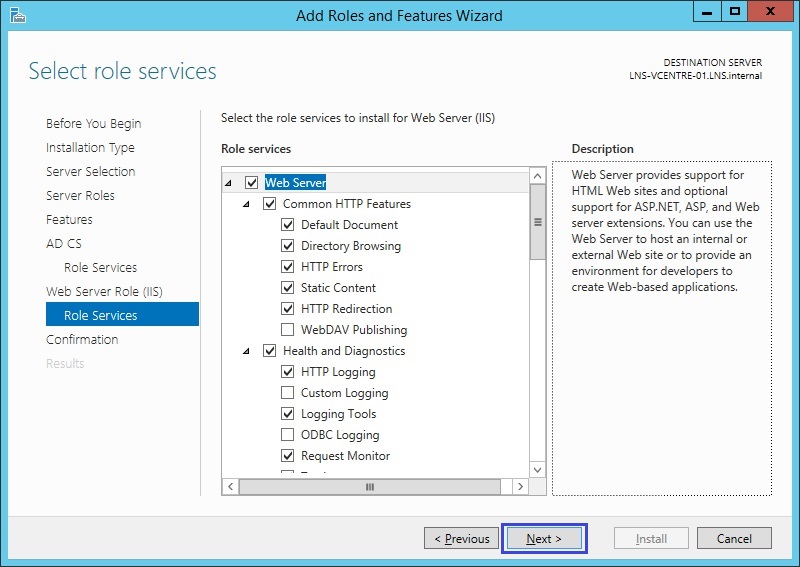
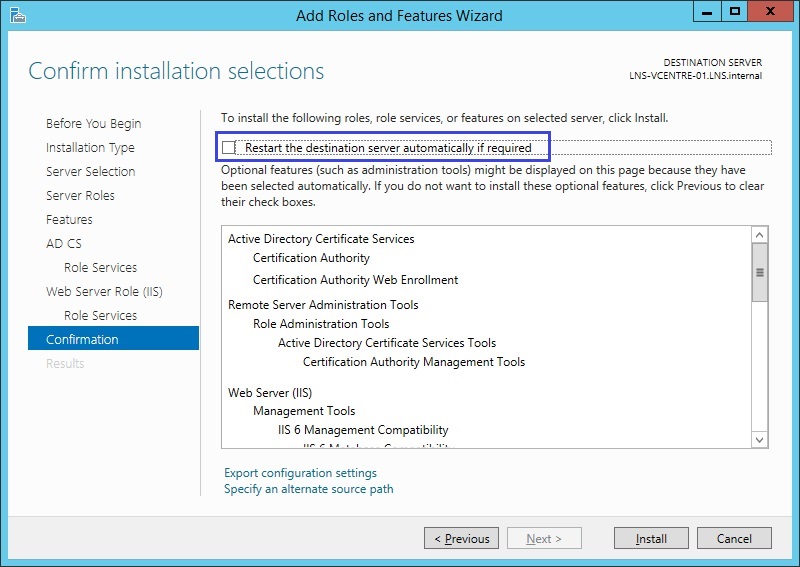
14. Select the “Restart the destination server automatically if required” tick box. This will allow the server to restart automatically if a reboot is required at the end of the install.
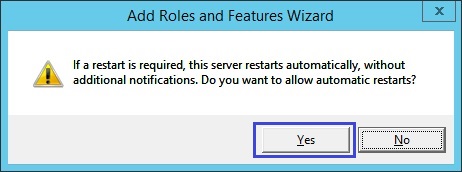
at the warning prompt select “Yes”
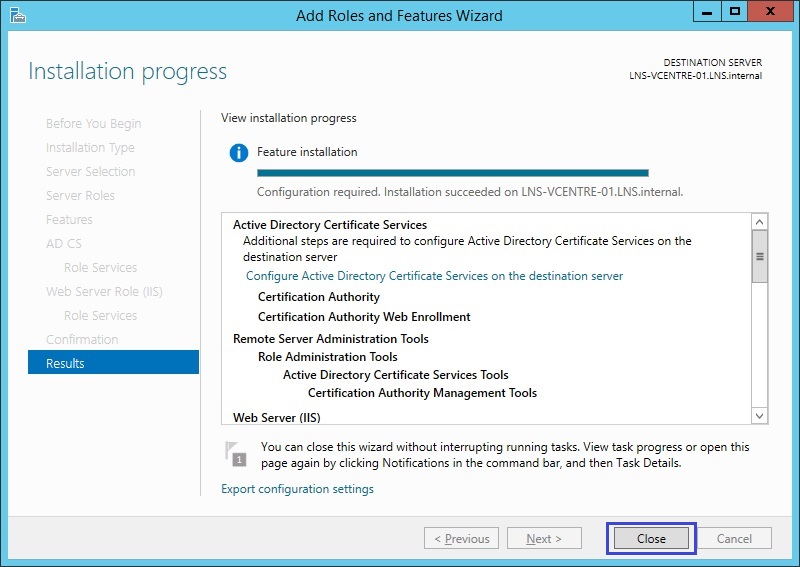
15. Once the role is installed, click “Close”
Configure the Role
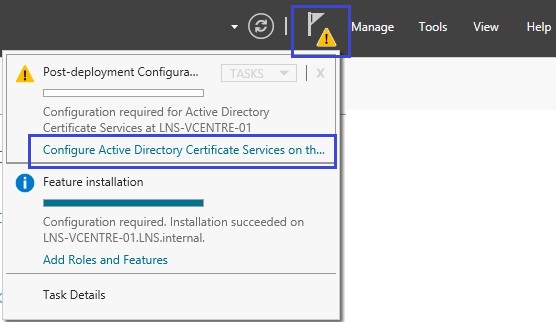
1. From server manage click on the yellow warning message, select “Configure Active Directory Certificate Services on this Server”
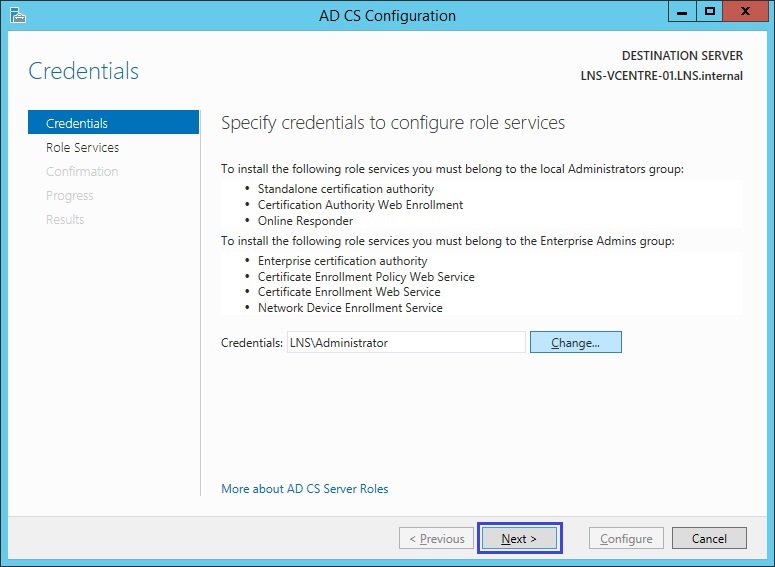
2. At the configuration wizard click “Next”
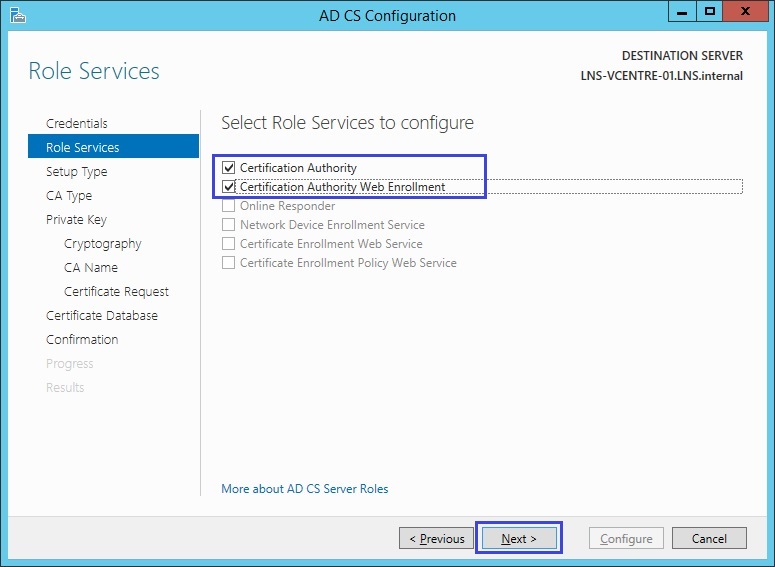
3. Tick both role services and click “Next”
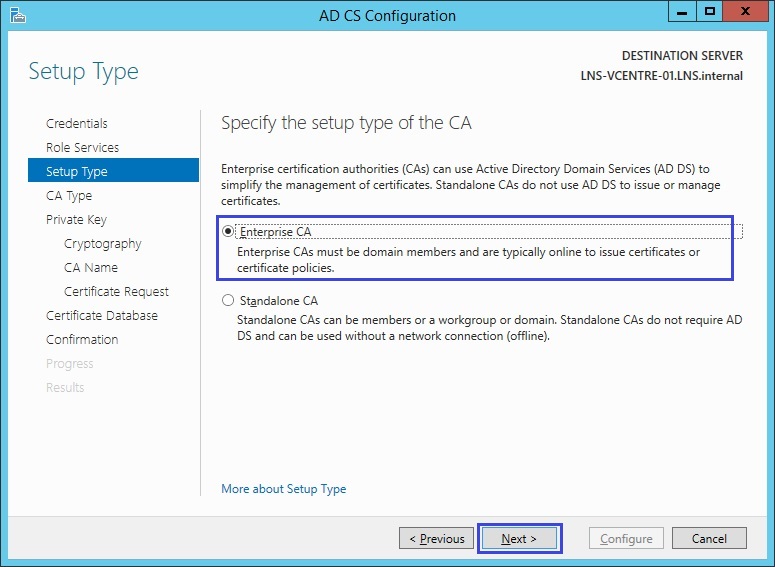
4. Select “Enterprise CA” and click “Next”
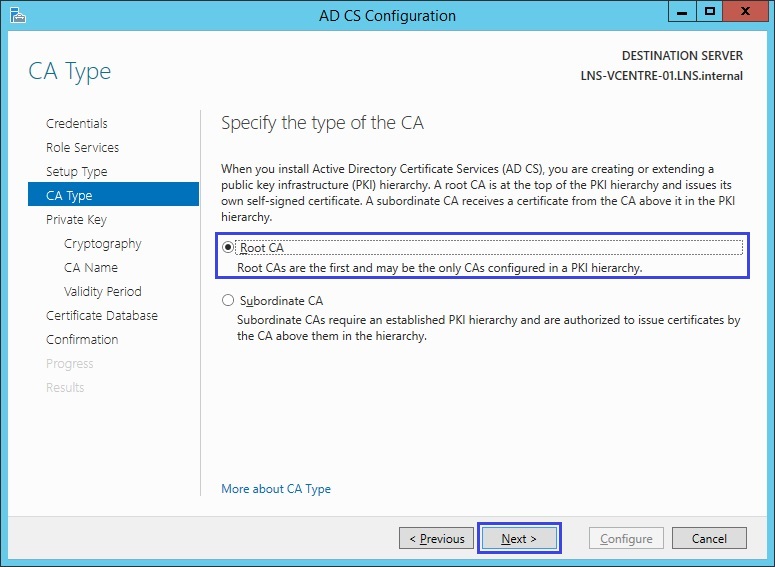
5. Select “Root CA” and click “Next”
6. Select “create a new private key” and click “Next”
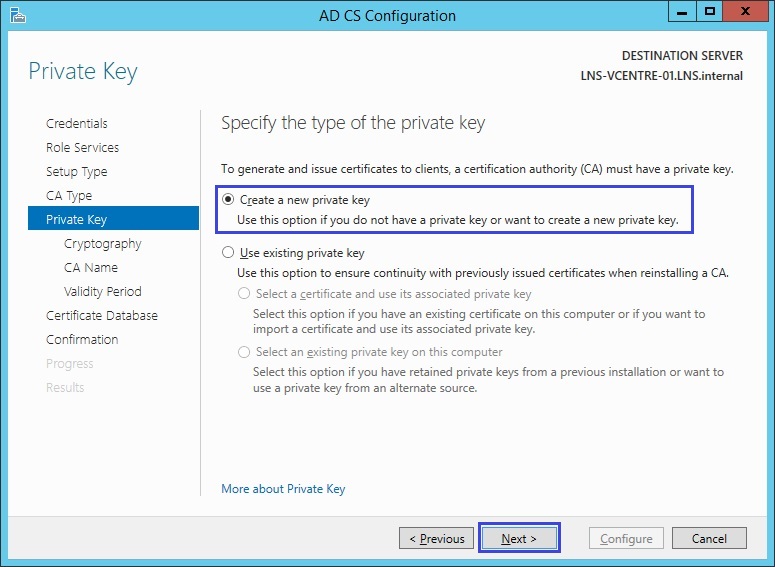
7. Leave the default values for the private key information and click “Next”
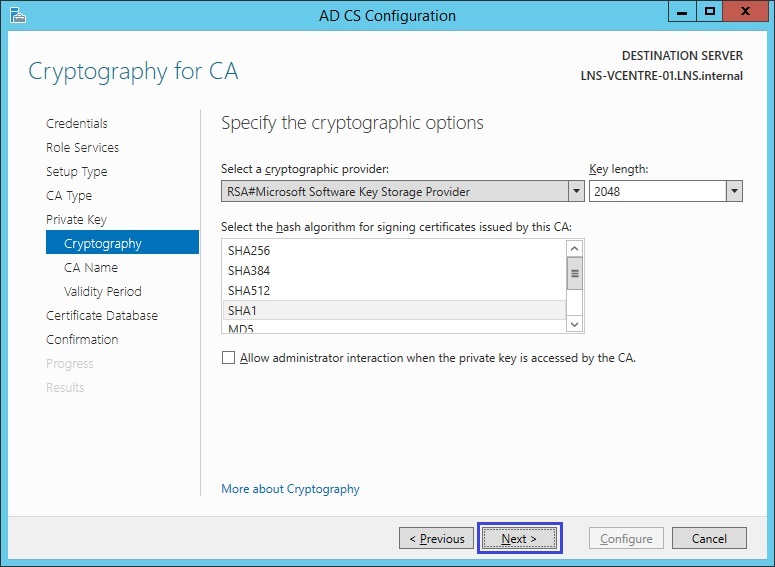
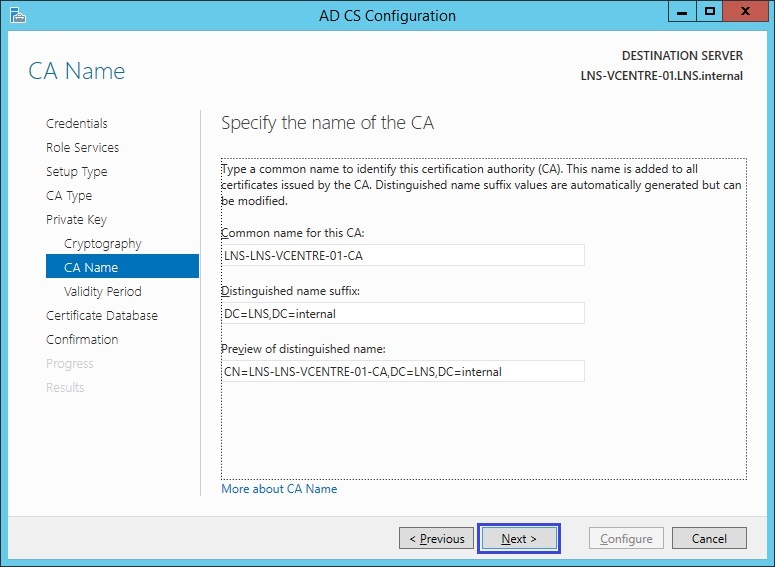
8. The name of the CA server can be changed in this step however in this example we will leave the default name. Click “Next”
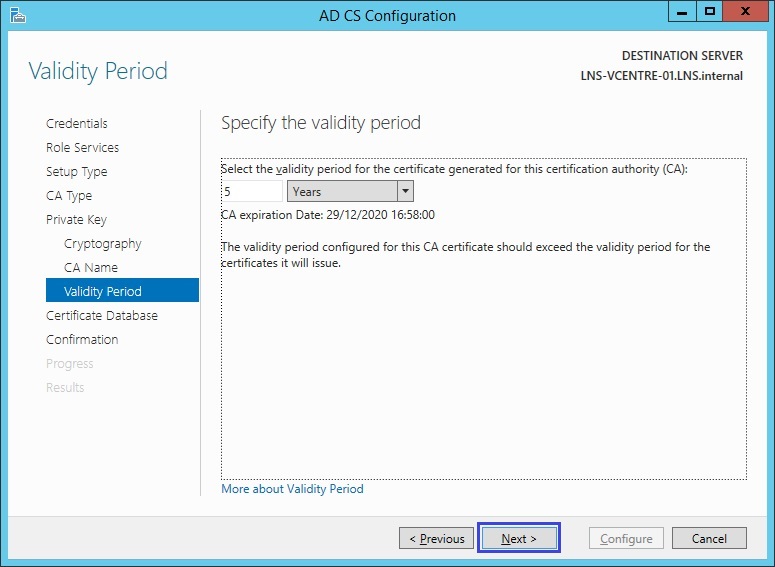
9. The CA Certificate default validity period is 5 years this can be changed if required, Click “Next”
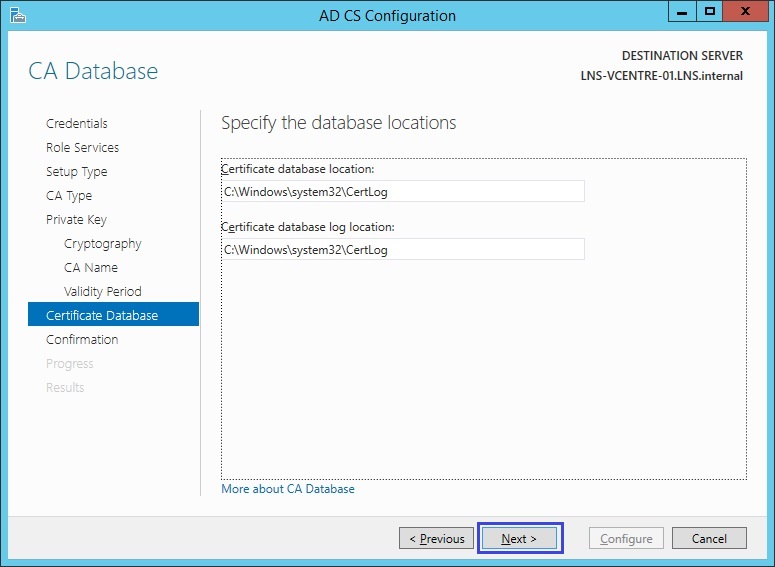
10. leave the default location of storing the database files and click “Next”
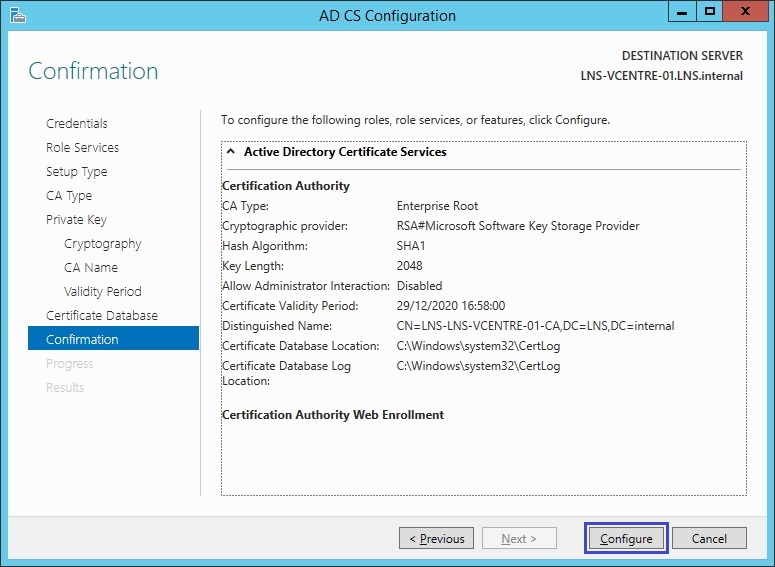
11. Review the configuration and click “Configure”
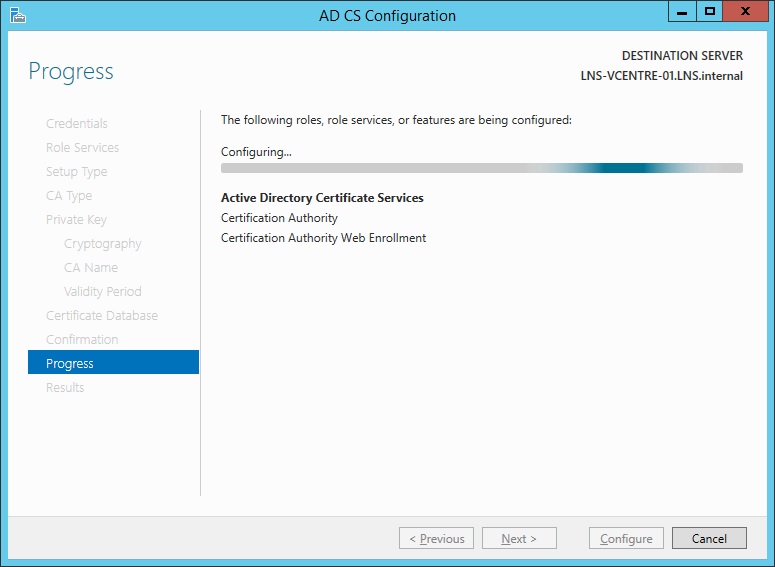
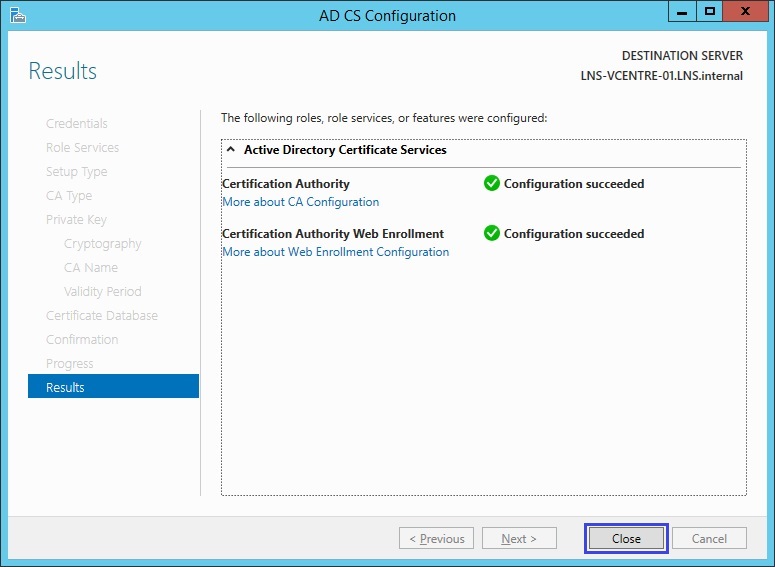
12. Once configuration is complete, click “Close”
Configure IIS
By default IIS does not have https enabled for our web enrolment service, we need to allow https connections and define a certificate for the service to use. http connection will work, however in the event the CA server is being accessed from another source to request a certificate, the credentials will be sent over in clear text therefore its important to set this up so SSL can be used.
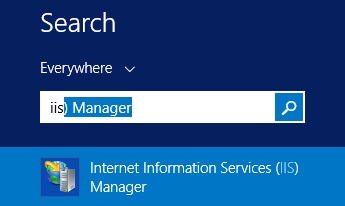
1. Click “Start” and type “IIS Manager”
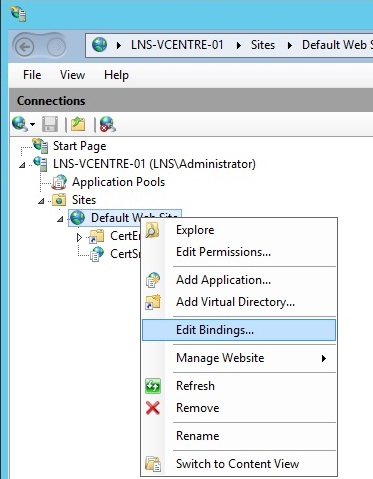
2. Expand “Server Name” – “Sites”, right click “Default Web Site” and select “Edit Bindings”
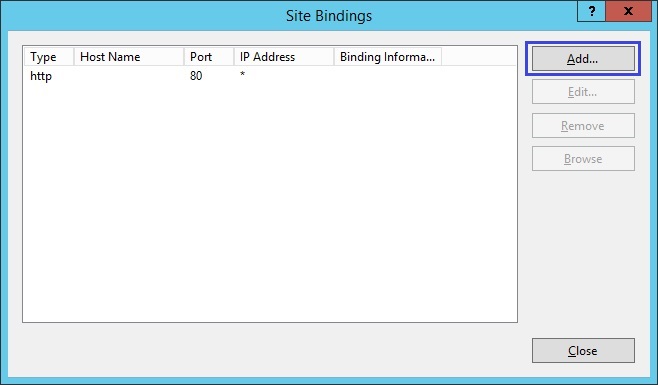
3. Click “Add”
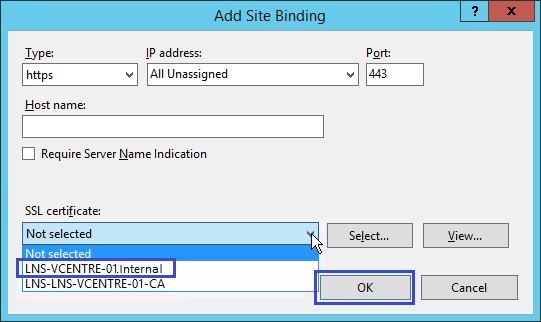
4. From the SSL drop down Menu, Select the Server certificate that should have been generated automatically by the CA, in this case its the “LNS-VCENTRE-01.Internal” if for any reason this certificate is not yet present, one can be generated by selecting “Create a Self-Signed” Certificate” from the right hand pane within IIS. the CA certificate doesn’t always work when using web enrolment so selecting the correct certificate is important.
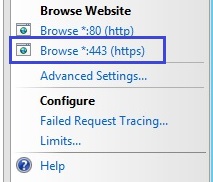
5. From the right hand pane within IIS, select “Browse*:443 (https)”
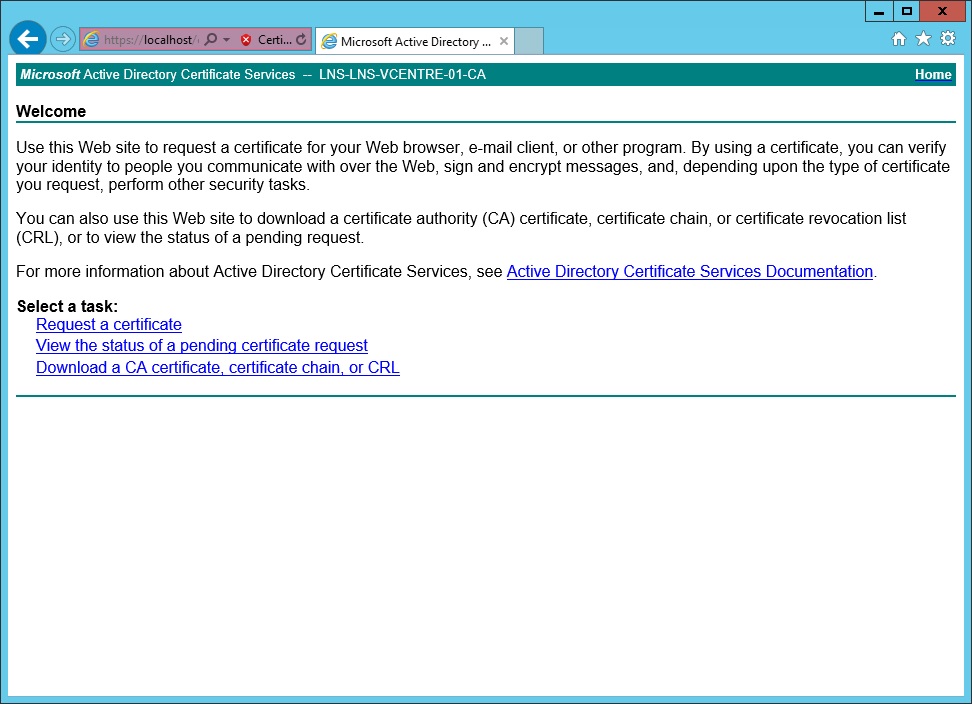
6. The browser will launch with “https://localhost/certsrv” in the address field. Click “Continue”
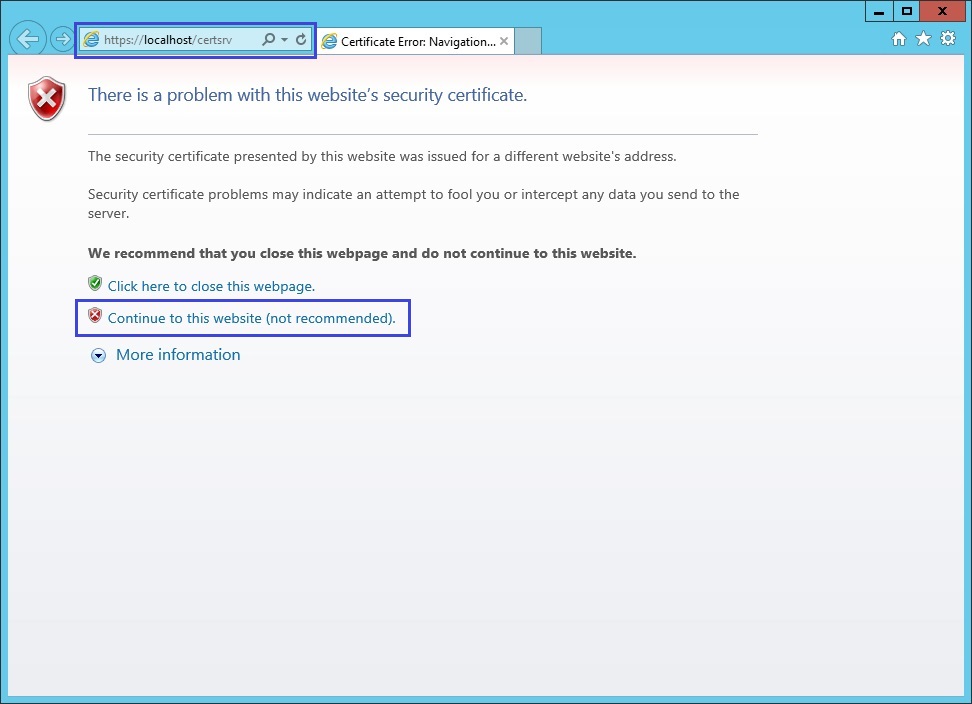
From the web interface, we can start requesting certificates from the CA for our organisation.
