HP Procurve – Backup and Restore a Configuration
In this tutorial we will backup, erase and complete a restore of the configuration on the switch.
Backup a configuration
1. Launch Putty, select the COM port of your serial to USB adapter and click “Serial”
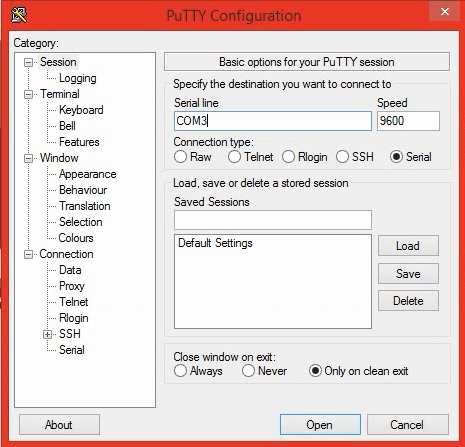
2. Select “Session” from the left hand pane and adjust the settings as shown below.
Select “All Session output” click browse and specify where to save the output. by doing this any commands we issue into the terminal window will be logged into the text file specified.
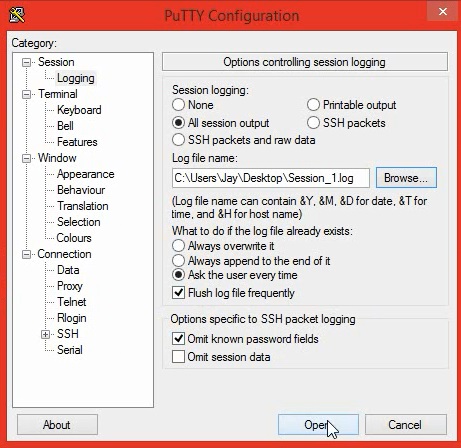
3. Click open.
4. Log into the device using the log in credentials

5. Issue the following command, “#Terminal Length 400”
“Terminal Length” Indicates the length of the lines that are displayed when a command is issued, in this situation we want the configuration to appear without any breaks when we issue the “#Show Run” command.
“400” indicates the amount of lines that can be displayed before the terminal window breaks and asks the user to either press space/enter to display the next line/page. This range can be between 2-1000
![]()
6. Next issue the “#Show Run” command
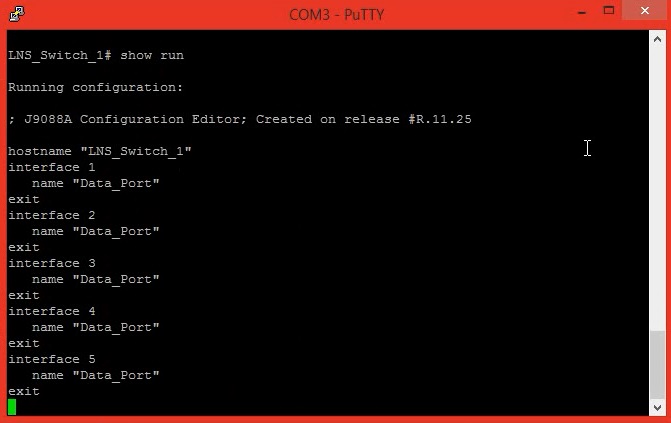
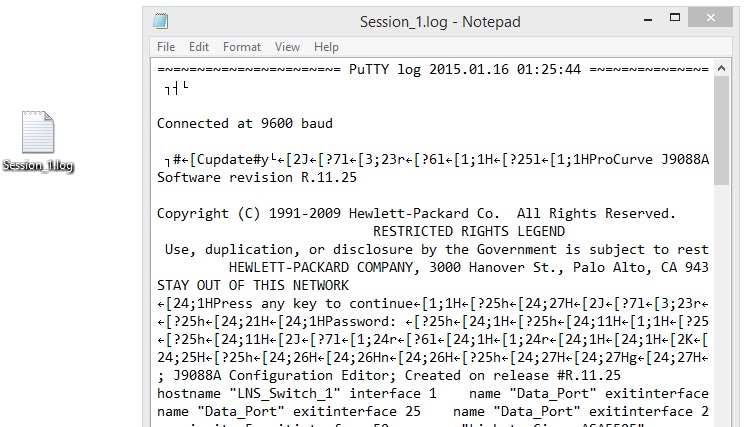
The Entire configuration will be displayed without any breaks. during this time you will notice the session output file that you specified at the beginning has already started logging all the outputs, this is the backup file.
Erase an existing configuration
1. To erase a configuration issue the following commands:
# erase startup-config
and select “y”
![]()
The device will reboot and reconfigure back to “factory default”
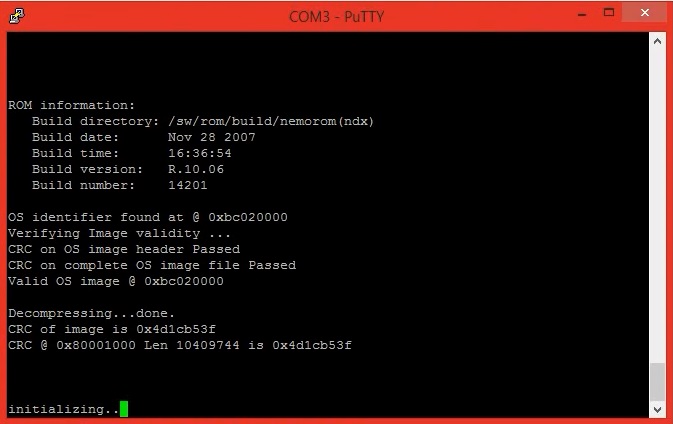
Once the device is ready log back into the switch

2. Issue a “#show run”
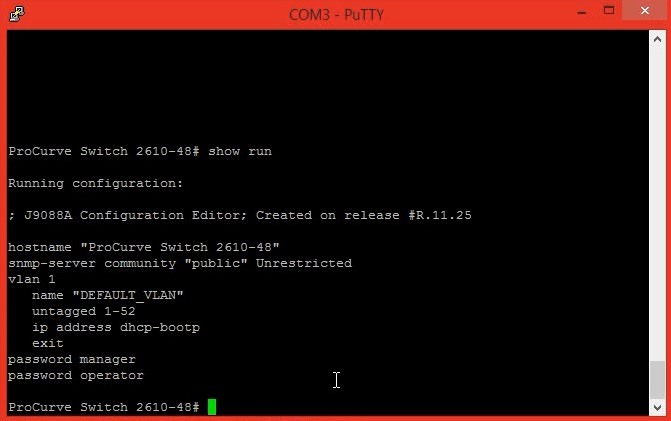
The device config is back to default.
Restore an existing configuration from backup
1. Open the existing backup configuration in a text editor such as notepad and highlight the text from the beginning of the configuration which normally starts with “hostname” until you reach the end.
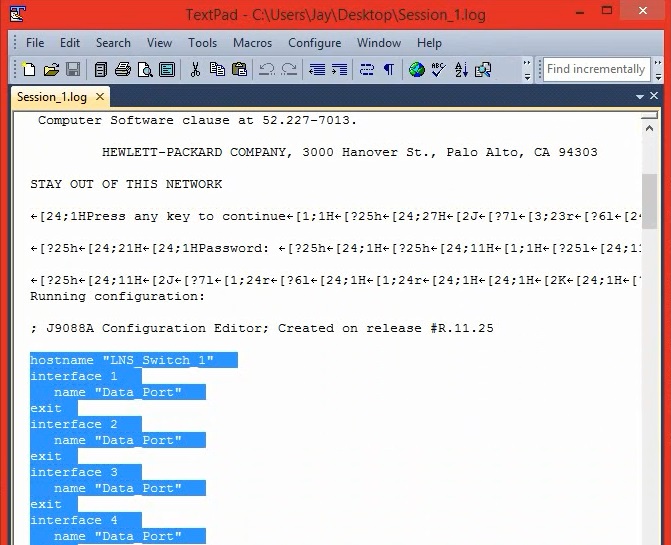
2. Right click the text and select copy
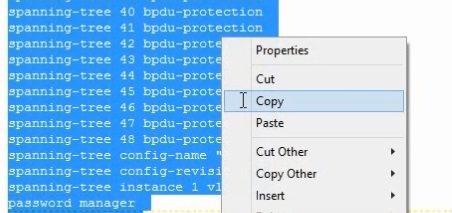
3. Open Putty, login to the device and enter privileged mode.
4. enter global configuration mode
#config t
5. paste the copied configuration into the terminal window by “right clicking” in the window. you will notice line by line the device will issue the configuration into the switch until it reaches the end. this could take a minute to complete.
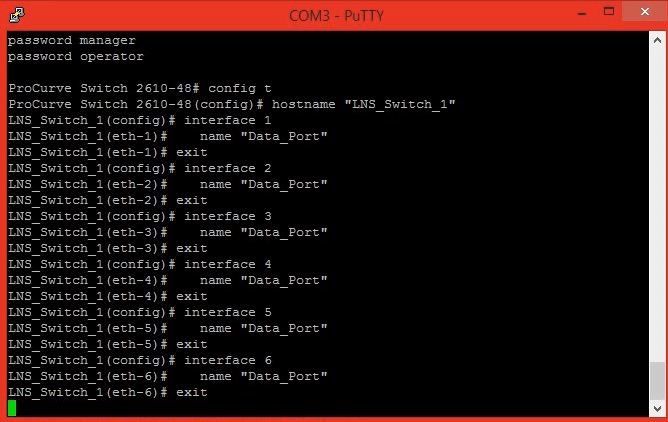
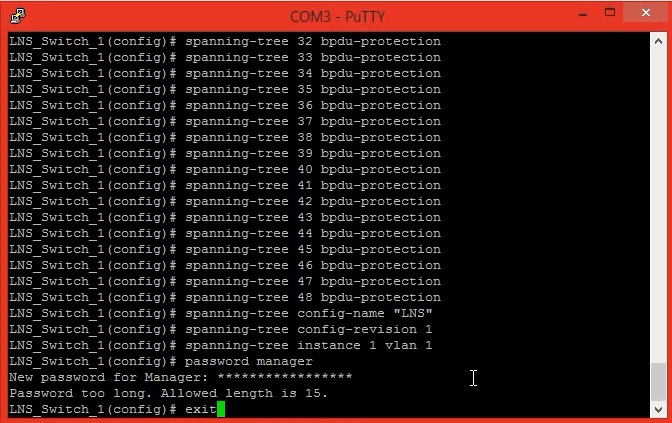
Once the configuration has completed restoring, you will be left with the “(config)#” prompt
type “exit”
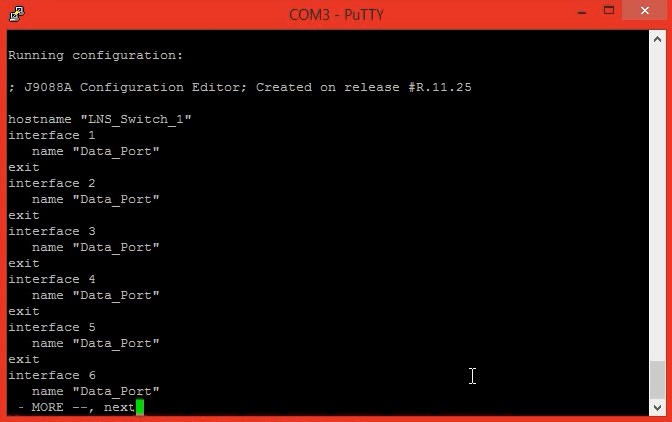
6. Issue a “#show run” to verify the device has restored the configuration successfully.
7. issue a “#wri mem” to save the configuration to flash.
![]()

