Configure RADIUS Authentication on Server 2012 R2 for Cisco Devices
In this step-by-step guide we will setup NPS as a RADIUS server to authenticate users for our Cisco 3560X switch, this process will work on most Cisco switches and routers. In this example we will be using two AD security groups to define level 15 and level 1 user access. This is a good practice, for example if we wanted to allow some users read only access, we can give them level 1 privileges and not hand out the enable password. The user would be assigned to the AD security group which is mapped back to an NPS policy that when these users authenticate, they will be in the user mode prompt >.
Our network admins on the other hand can have level 15 and not have to keep entering the enable password every time they login, the NPS policy defined for level 15 access will place the user into Exec Mode # upon successful authentication. Lets get started!
Note: You must have the NPS server role installed to begin configuring access policies, have a look at “Install Network Policy Server (NPS) on Server 2012 R2”
Create the AD security groups
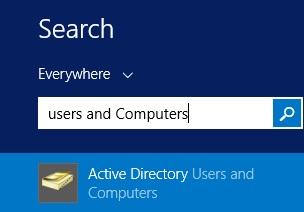
1. Log into windows server 2012 R2, and launch “Active Directory users and Computers”
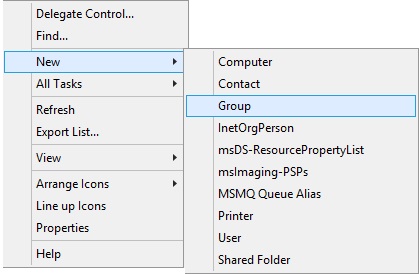
2. Navigate to the “Users” container and create a new security group. click “Action” from the top menu, scroll down to “New” and “Group”
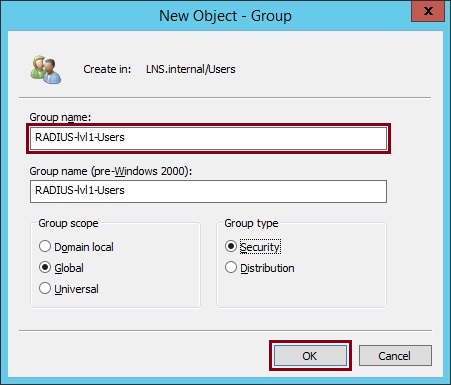
3. Give the group a meaningful name, in this example we have used “RADIUS-lvl1-Users” This security group will be to control the users who will have level 1 access to the Cisco device upon login. Users will need to enter the enable password should they want higher privilege access. They will be placed at the > user mode prompt when authenticated.
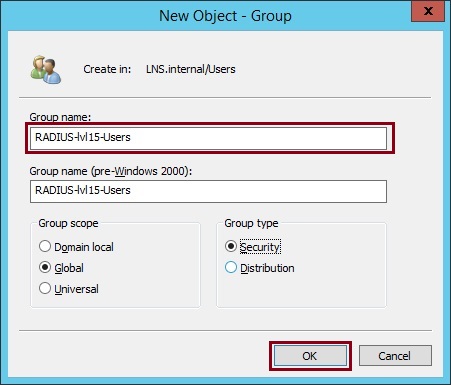
4. Create a second group with a meaningful name, in this example we have used “RADIUS-lvl15-Users” this group will be for users who will have level 15 access to the Cisco device, they will be prompted with the # user mode prompt and will not need to supply the enable password.
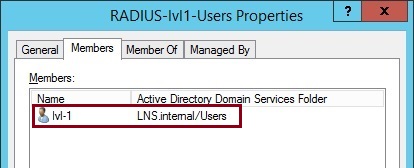
5. Right click “RADIUS-lvl1-Users”, select the properties of the group and add a user as a member of the group. In this case i have added a user called “lvl1”, you can use any user in the domain that will be accessing the device. Click “OK”
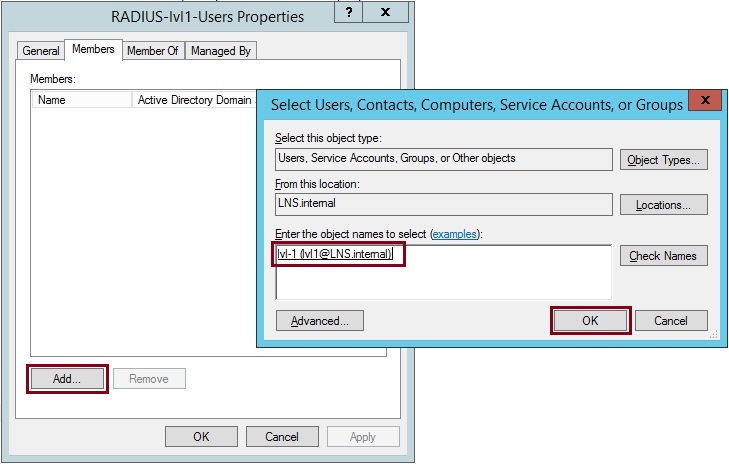
Click “OK” and close the properties
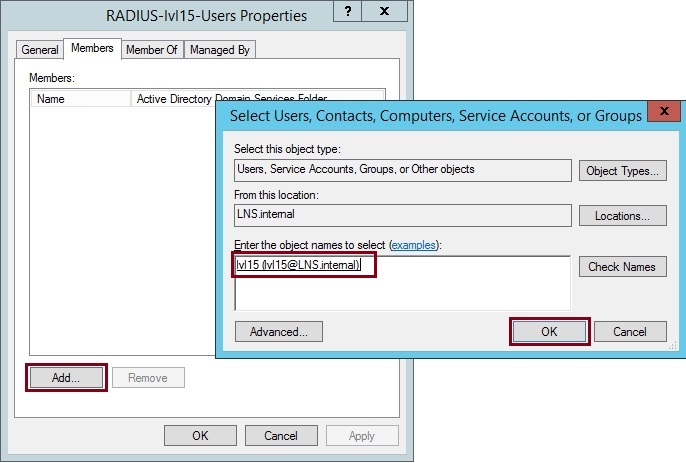
6. Right click “RADIUS-lvl15-Users”, select the properties of the group and add a user as a member of the group. I have added a user called “lvl15” for this group. Click “OK”
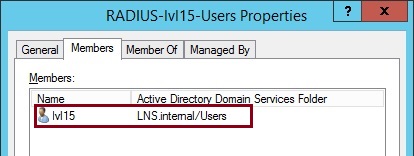
Click “OK” and close the properties
Add the RADIUS Client
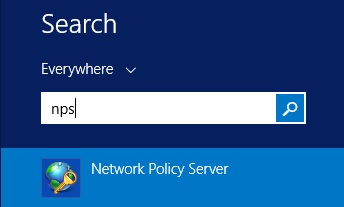
1. Click “Start” and type “NPS” click and launch the “Network Policy Server”
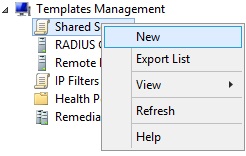
2. Create a template of the shared secret, although this can be done manually on the client device, its easier to work from a template when adding multiple client devices in the future. Expand “Templates Management”, Right click “Shared Secret” and click “New”
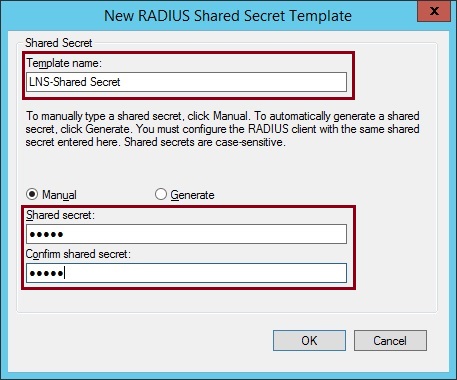
3. Give the template a name and create a password that will be used by the RADIUS client to join to the RADIUS Server. Click “OK” and close the window

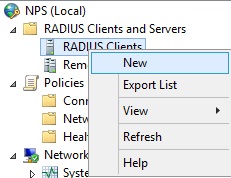
4. Expand “RADIUS Clients and Servers”, right click “RADIUS Client” and select “New”
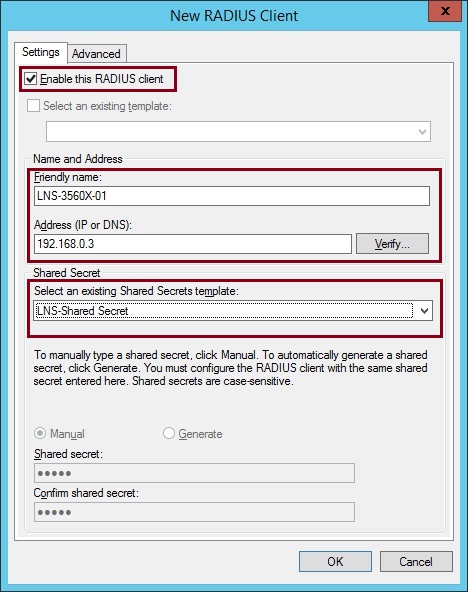
5. Make sure the tickbox “Enable this RADIUS client” is ticked, give the client a “Friendly name” and specify the “IP address” of the device. From the “Shared Secret” dropdown box select the template we created earlier so that the client can use this.
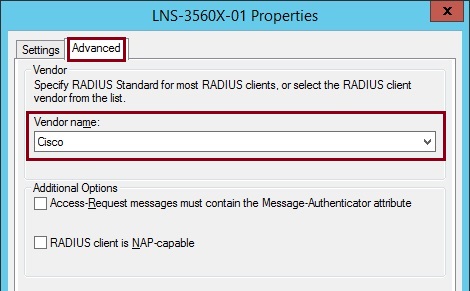
6. Select the “Advanced” tab, and from the “Vendor name” drop down select the vendor of the device, in this case its “Cisco”. Click “OK” and close the window
The device will now be visible under the “RADIUS Clients” list

Create a Connection Request Policy
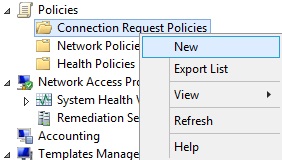
1. Expand “Policies” right click “Connection Request Policies” and click “New”
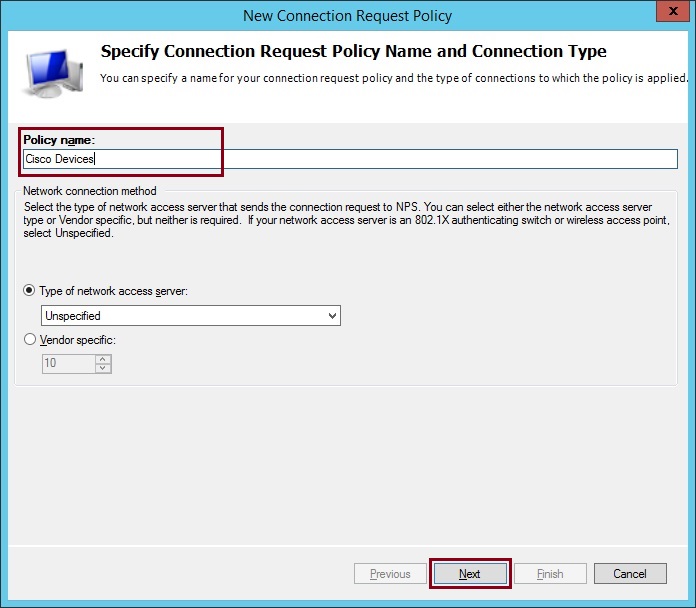
2. Give the policy a name and click “Next”
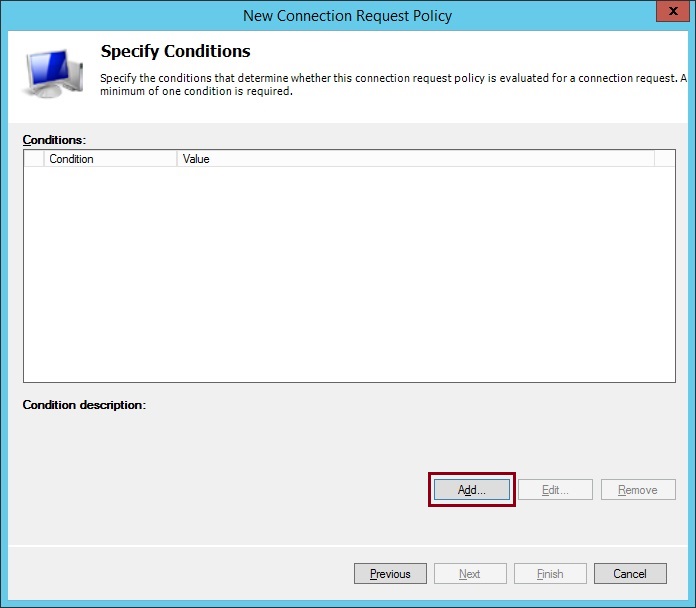
3. Click “Add”
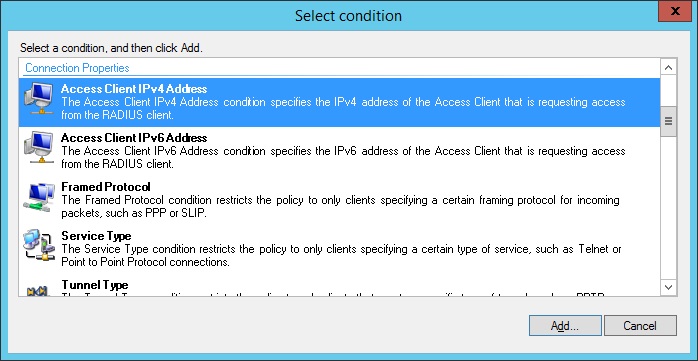
4. Select “Access Client IPv4 Address” we will use a subnet range with a wildcard to define what is allowed to request Authentication. Click “Add”
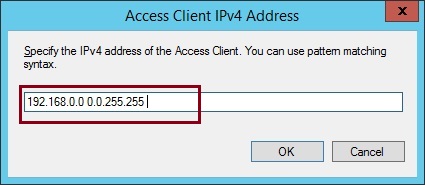
5. Insert the “IP subnet” and “wildcard mask”, in this example we are allowing anything from the 192.168.0.0 subnet, “click OK”
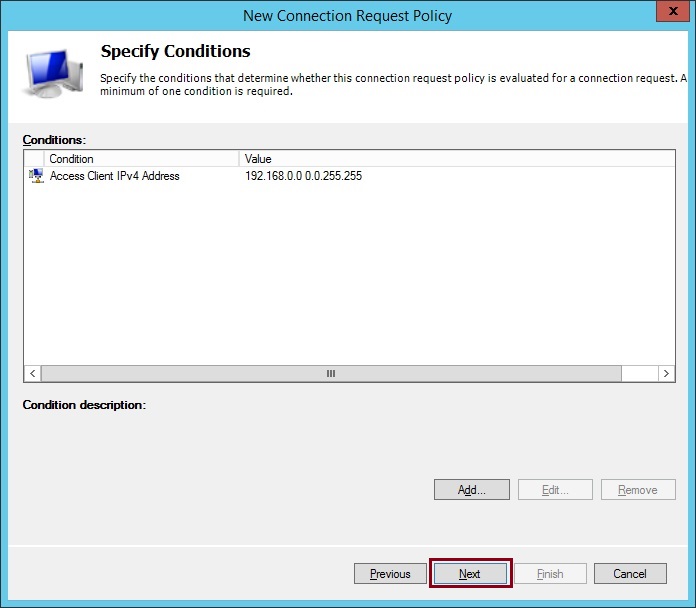
6. Click “Next”
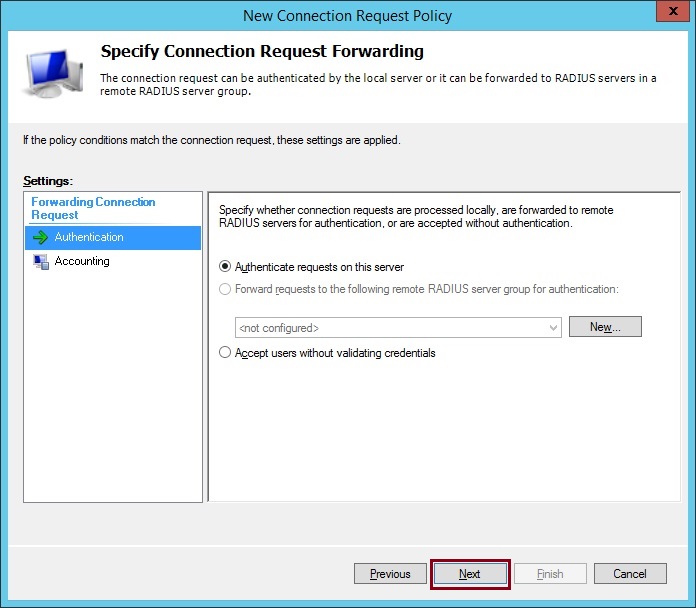
7. Click “Next”
8. Click “Next”
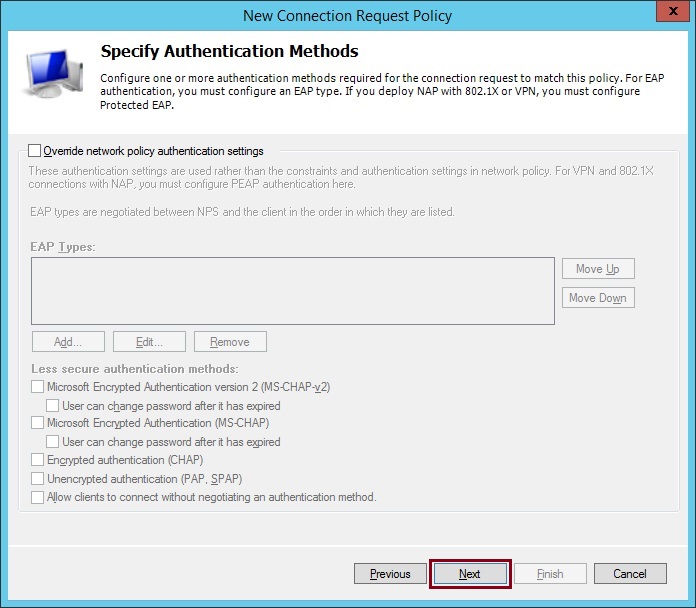
9. Click “Next”
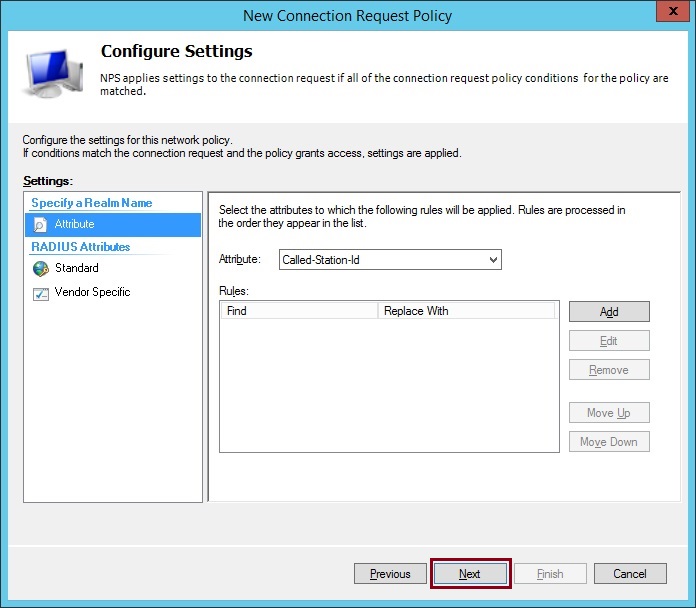
10. Click “Finish”
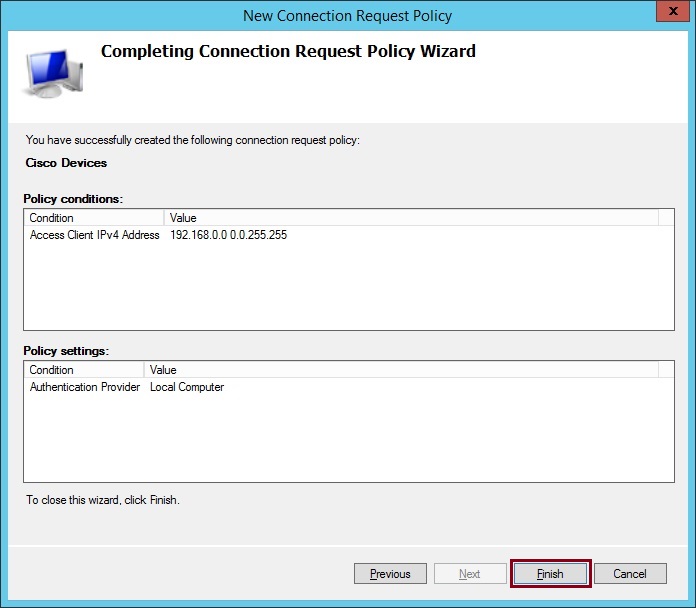
The newly created policy will now be listed.

Create the Network Access Policies for Level 1 & 15 privileges
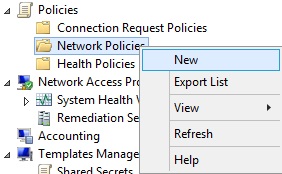
1. Right click “Network Policies” and select “New”
2. Give the policy a name that will correspond with our security group created earlier, this policy will map “RADIUS-lvl1-Users”. click “Next”
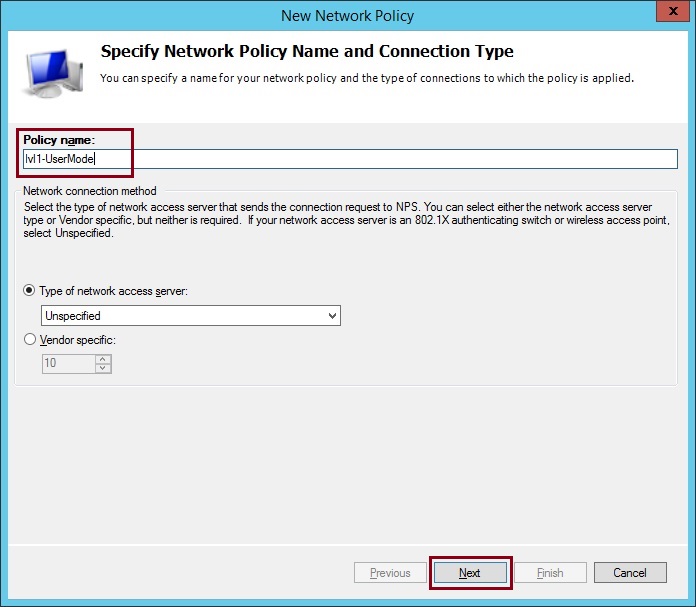
3. Click “Add”
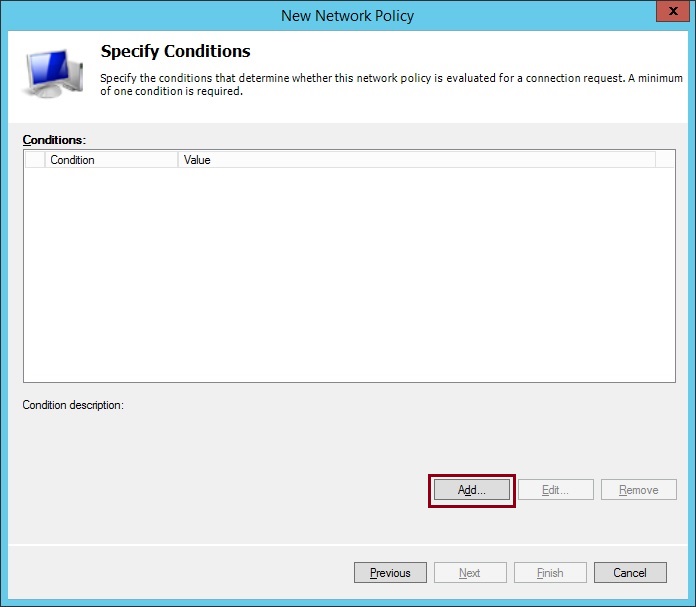
4. Select “User Groups” and click “Add”
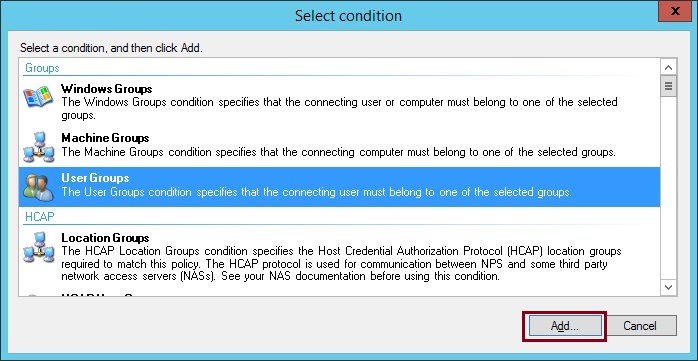
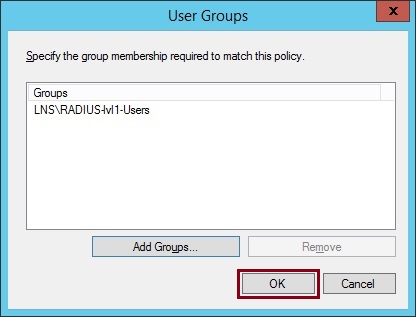
5. Specify the security group this policy will use to authenticate users. Click “OK”
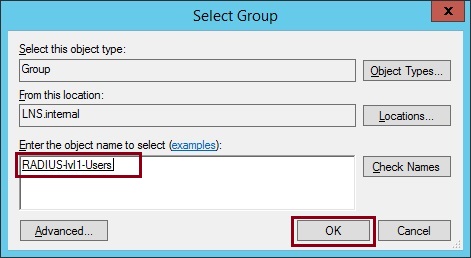
Click “OK”
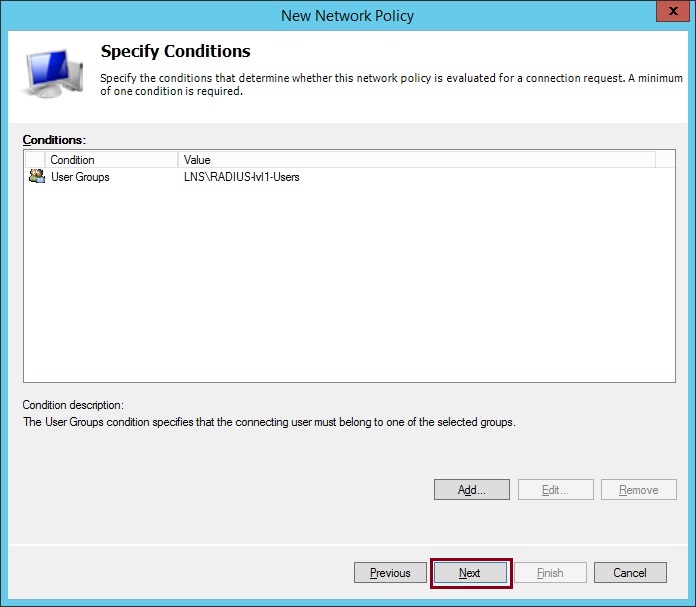
6. Click “Next”
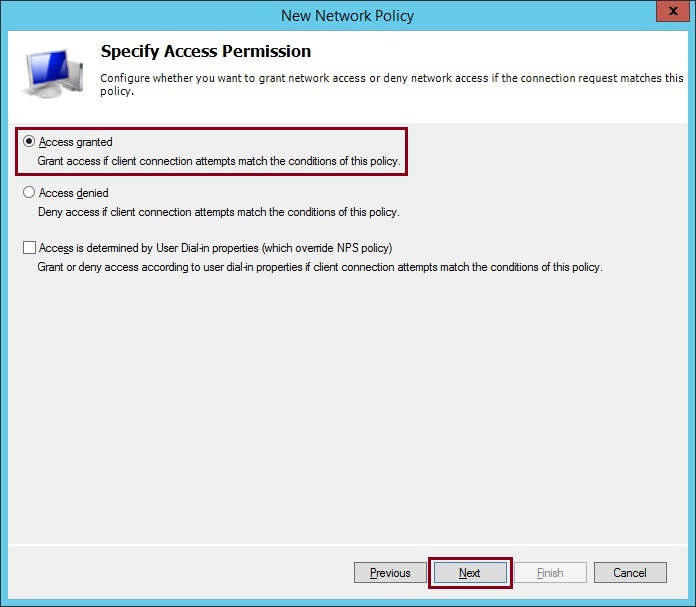
7. Select “Access Granted” and click “Next”
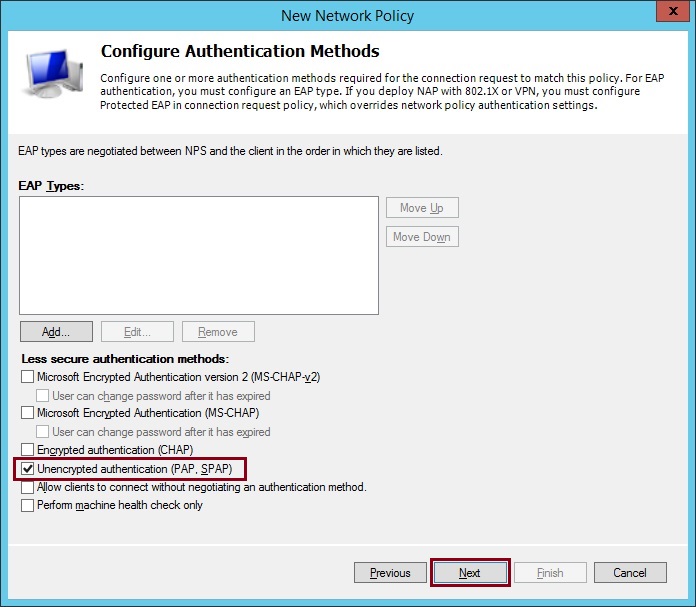
8. De-select all the Microsoft authenticated methods and tick “Unencrypted authentication (PAP.SPAP)”, RADIUS will still continue to use a hashing algorithm so the authentication process will be secure. Click “Next”
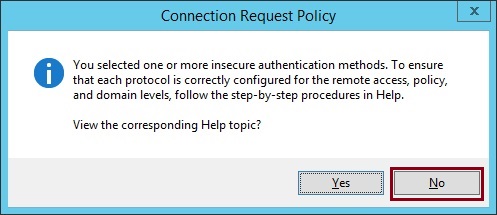
At the warning prompt select “NO”
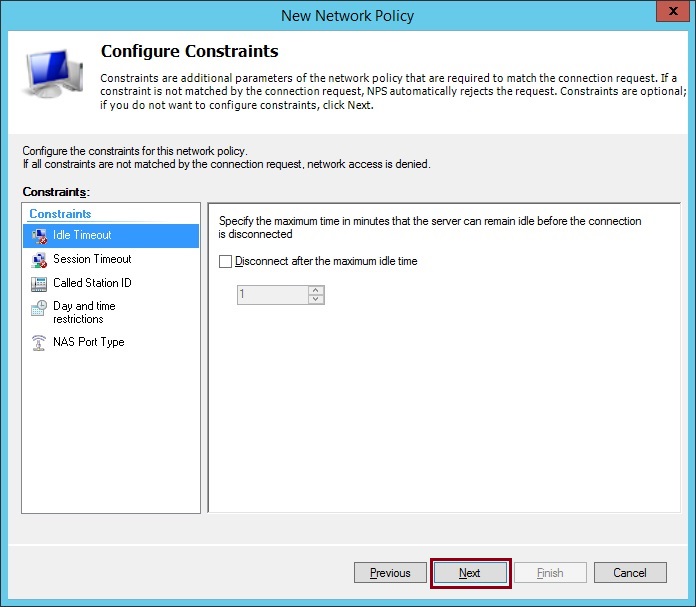
9. Click “Next”
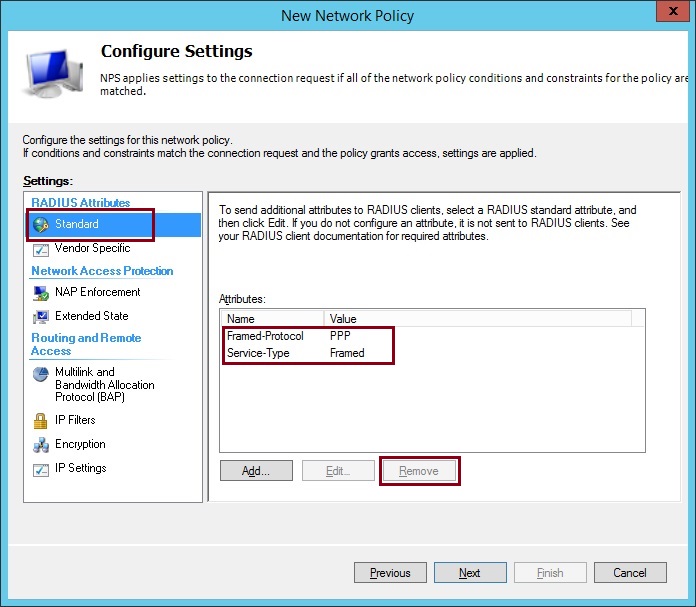
10. From the RADIUS Attributes select “Standard” and remove the two listed default attributes highlighted and Click “Add”
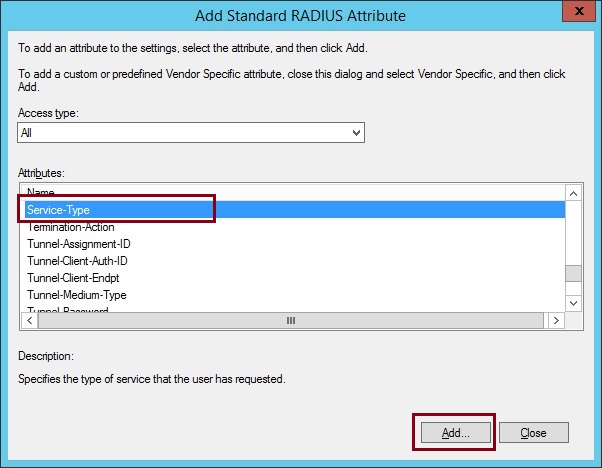
11. Select “Service Type” and click “Add”
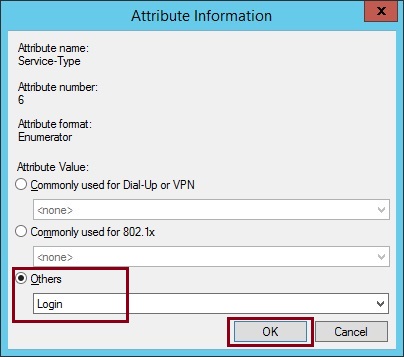
12. Select “Others” and define “Login” from the drop down list. Click “OK”
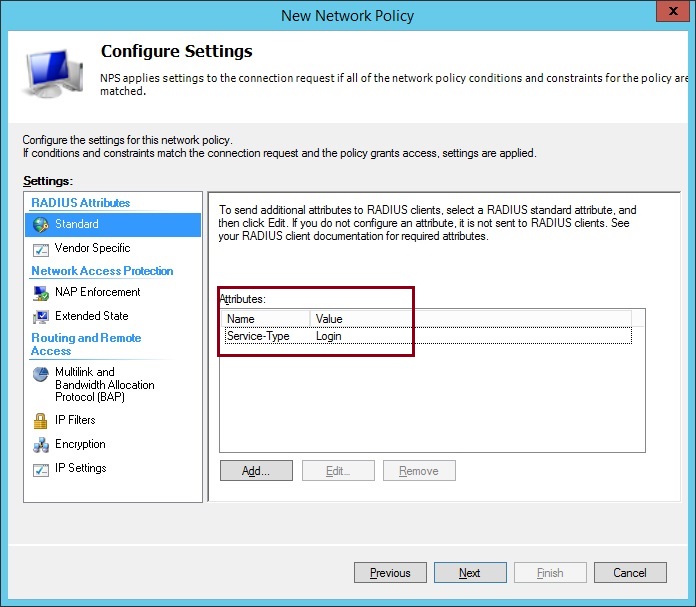
The Attributes should now contain the single “Service-Type” of “Login”
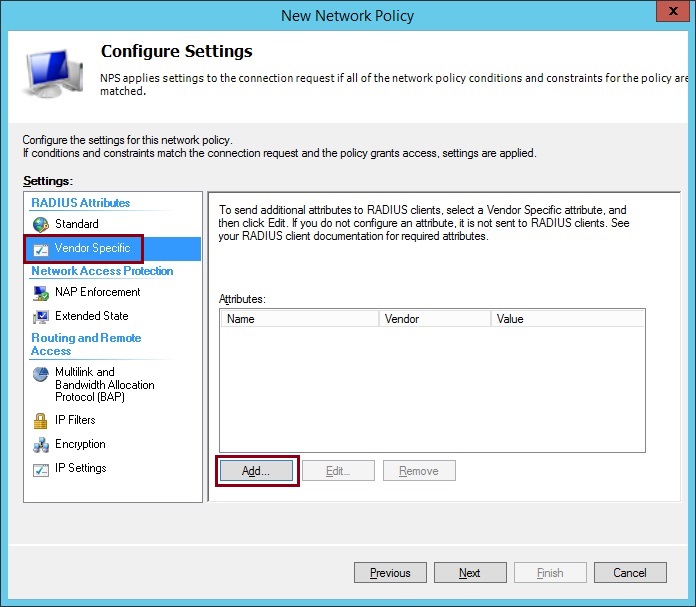
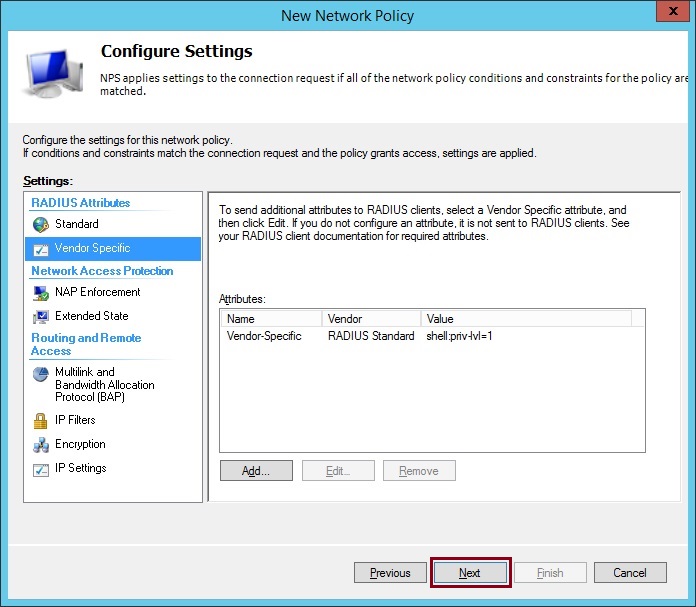
13. Click “Vendor Specific” and Click “Add”
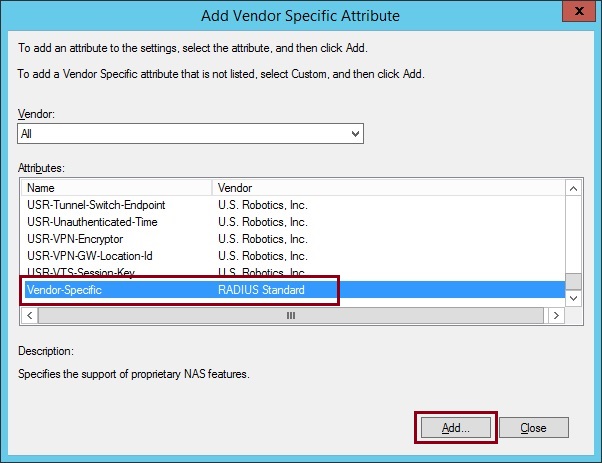
14. Select “Vendor Specific” from the list and click “Add”
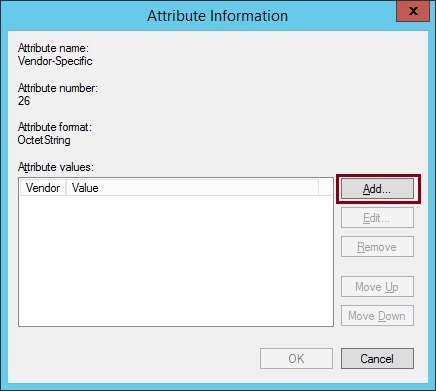
15. Click “Add”
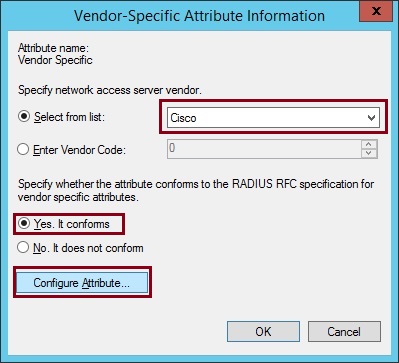
16. Select “Cisco” from the drop down list, select “Yes. It conforms” and click “Configure Attribute”
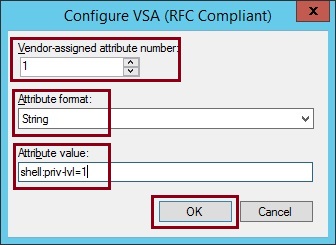
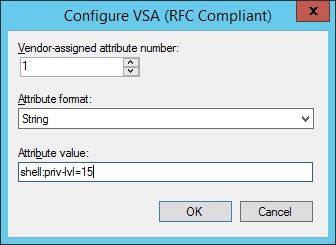
17. Change the “Vendor-assigned attribute number” to “1” the “Attribute format” to “String” and the “Attribute Value” to “shell:priv-lvl=1”. In this attribute we are simply specifying that we want users that authenticate to our Cisco device to be allocated into user mode upon authentication. click “OK”
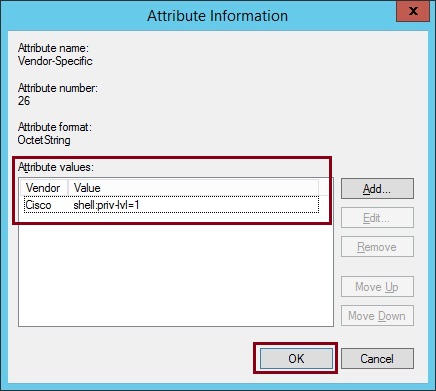
18. Click “OK”
19. Click “Next”
20. At the summary window click “Finish”
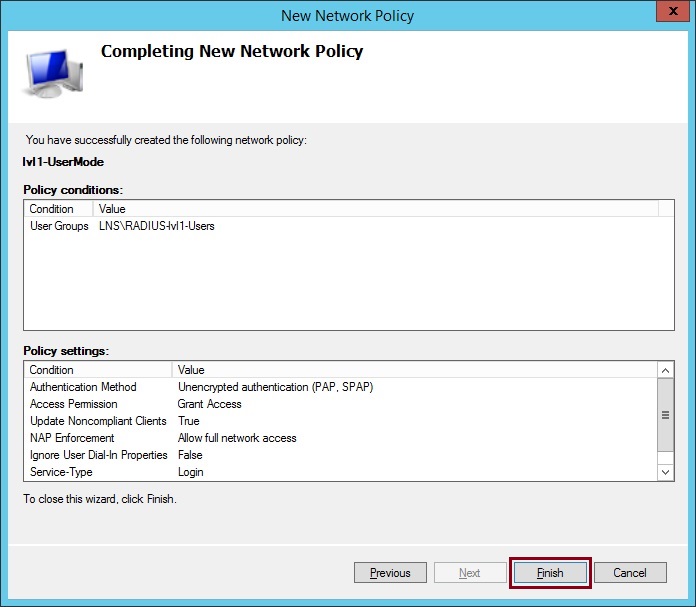
The Access policy for users that will default to user mode is now complete, we must now setup the second policy for our users that will be using level 15.
21. Follow the above steps to configure the second policy using the the “RADIUS-lvl15-Users” AD security group and the “Vendor Specific” attribute value of “shell:priv-lvl=15”
Once the second policy has been added, both policies should be visible in “Network Policies” pane

Configure the Cisco Switch
1. Login into the switch using putty or console, and enter the following commands:
# conf t – Enter global Configuration mode
(config)# aaa new-model – Define a new aaa server
(config)# radius-server host 192.168.10.23 auth-port 1645 acct-port 1646 – Define the IP address of the RADIUS server and the Authentication and Authorization ports
(config)# radius-server key cisco – Define the shared secret
(config)# aaa authentication login default group radius local – Define the login group and method, use RADIUS and only use local if RADIUS is unavailable but do not fail over
(config)# aaa authorization exec default group radius if-authenticated – authorize the user with exec mode privileges if already previously authenticated in the event RADIUS is unavailable during the session.
(config)# ip radius source-interface Vlan 1 – VLAN1 is the source interface which the client device uses to communicate to the RADIUS server, this command is necessary only if SVIs are on the device or routing is enabled, this will not be required for access switches.

Testing
1. Login using the user allocated to the level 1 RADIUS security group and verify the correct privilege level is allocated allocated to the user upon authentication

debug radius output from the switch for user lvl1 with privilege level 1. (#debug radius)
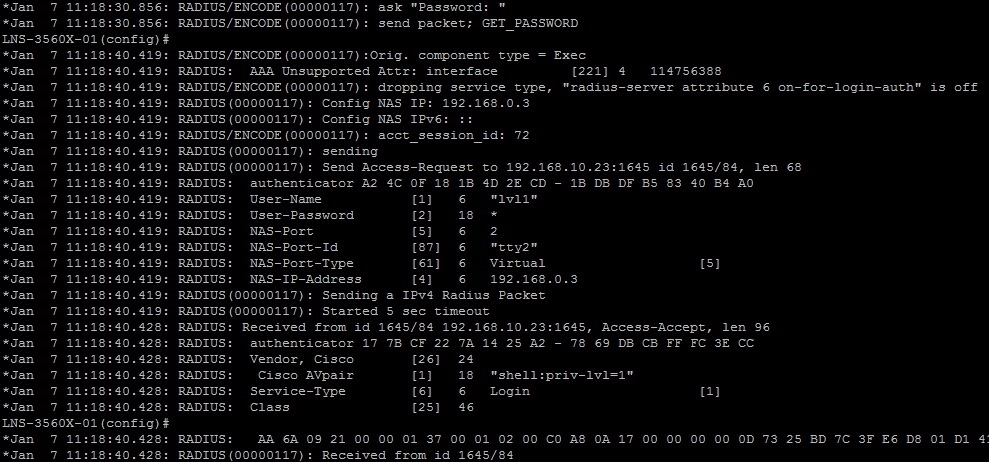
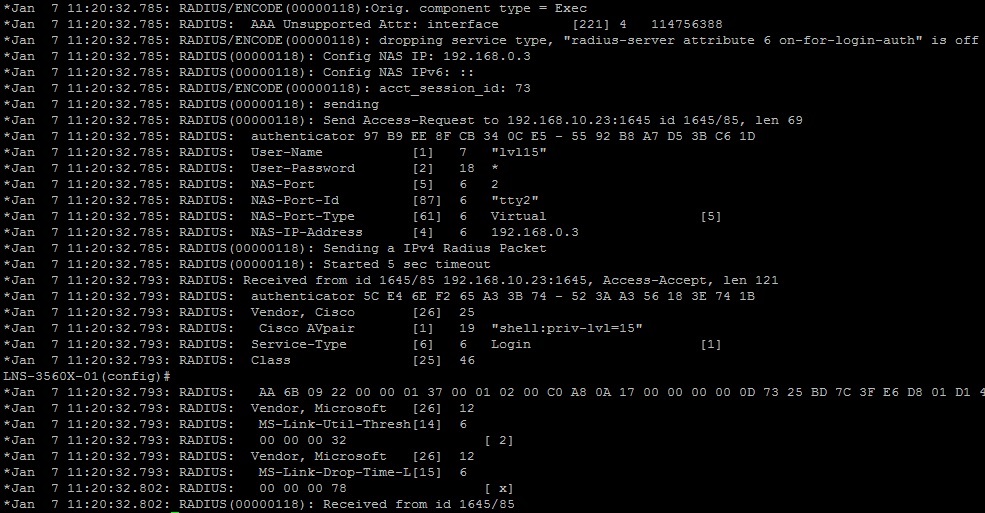
2. Login using the user allocated to the level 15 RADIUS security group and verify the correct privilege level is allocated to the user upon authentication

debug radius output from the switch for user lvl15 with privilege level 15. (#debug radius)
