Allow ICMP “Ping” on Windows 10/8/Server 2012 R2
By default Windows 10/8.1/8 and Windows Server 2012/R2 does not allow ICMP packets through the windows firewall. In this quick step-by-step guide we will create an inbound rule on the the Windows Firewall to allow “Ping” ICMP packets through.
Test ping to make sure it is blocked
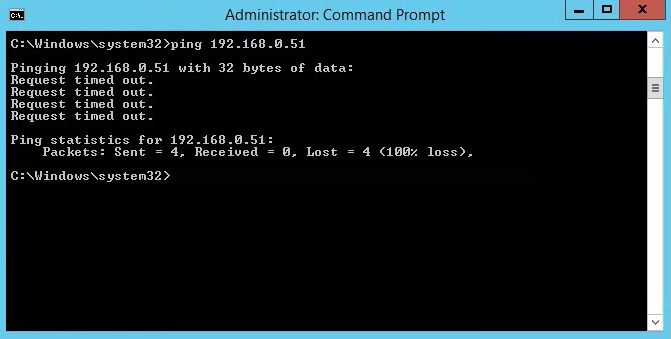
1. Test that ICMP packets are being blocked on the machine in question by using ping to test connectivity from another machine on the same subnet. Launch “CMD” and type “Ping” followed by the IP address of the machine. from the output below we can see that the ping is failing by the response generated “Request timed out”
Create an Inbound Rule to Allow Ping
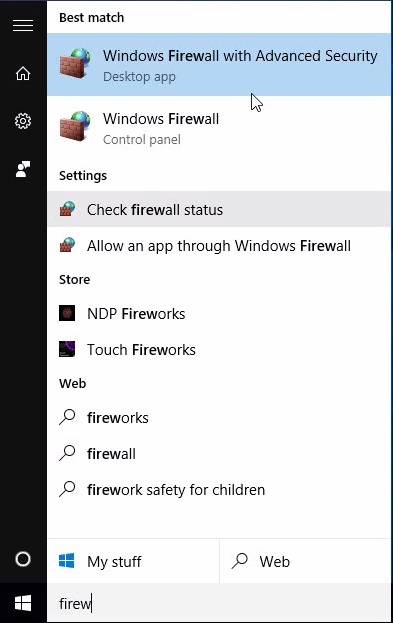
1. On the machine you want to allow ping on, click start and launch “Windows Firewall with Advanced Security”
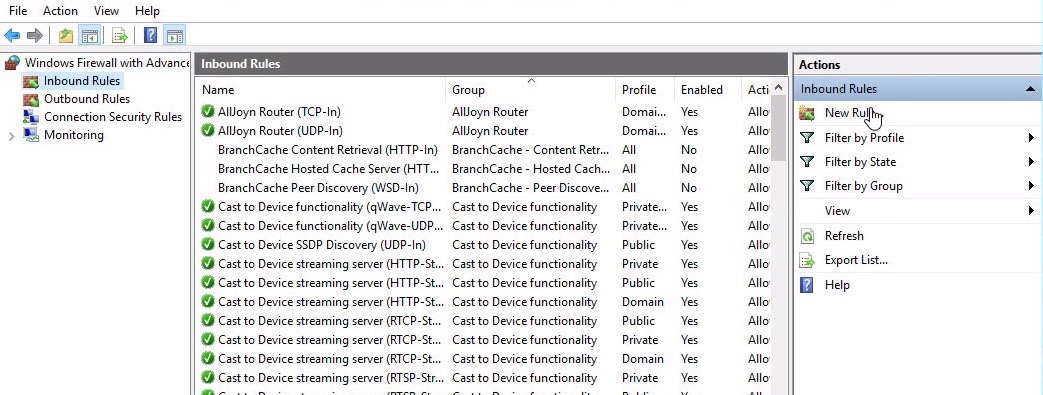
2. Select “Inbound Rules” from the left pane and under “Actions” click “New Rule”
3. At the wizard, select “Custom” and click “Next”
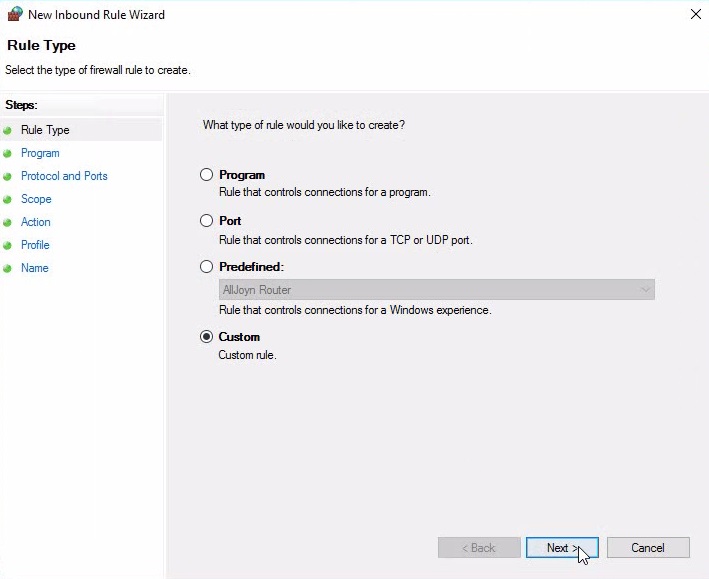
4. Select “All Programs” and click “Next”

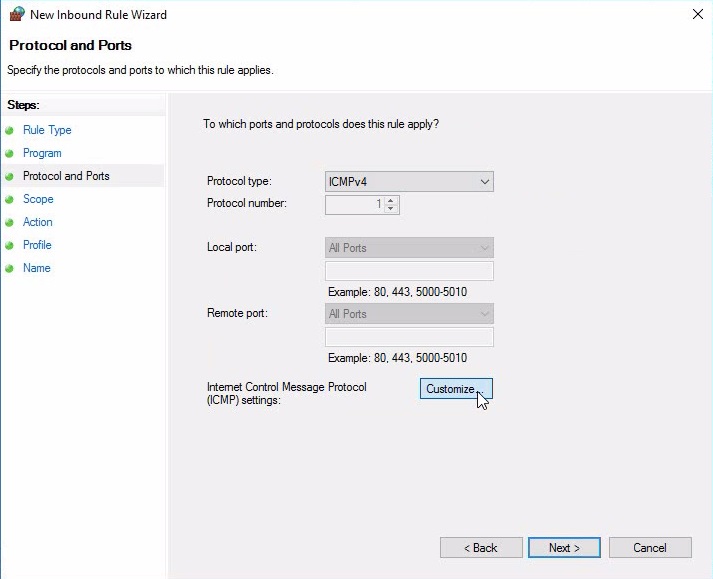
5. From the “Protocol type”drop down box select “ICMPv4”

6. Click Customize
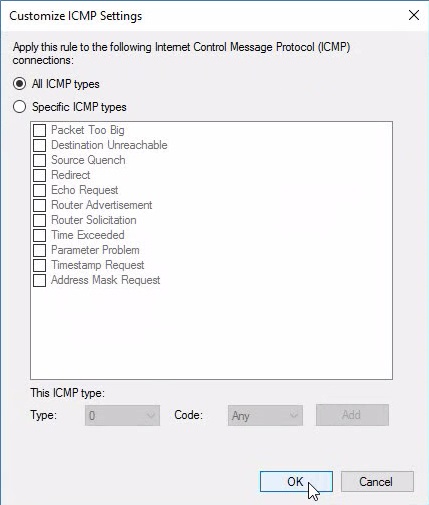
Make sure “All ICMP types” is selected and click “OK”
7. At the Scope options, you can define IP addresses/Subnets for which you want to allow Ping from. in this case we want to allow it from anywhere. Click “Next”

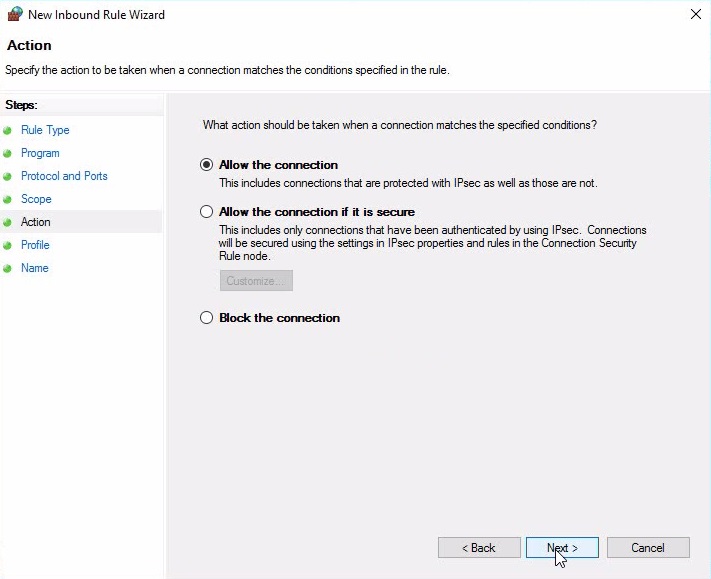
8. Select “Allow the Connection” and click “Next”
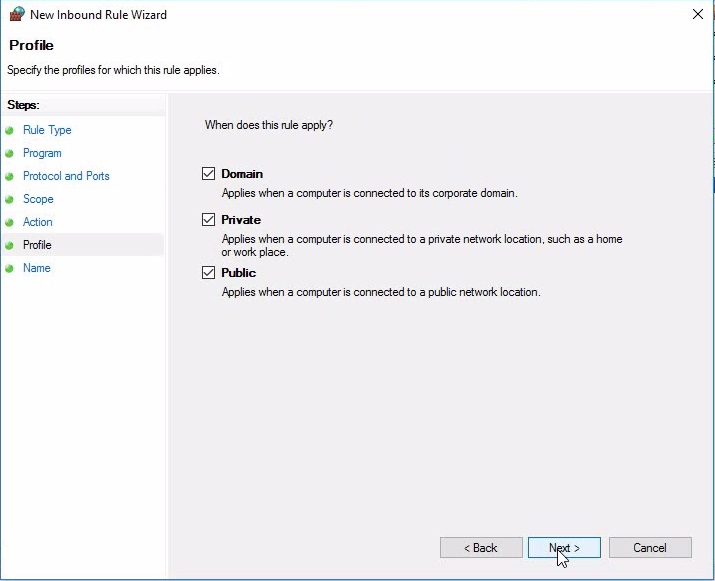
9. Select which policy you want to apply the rule to, in most cases you would only select “Domain” and “Private” in this case we will apply it to all three.
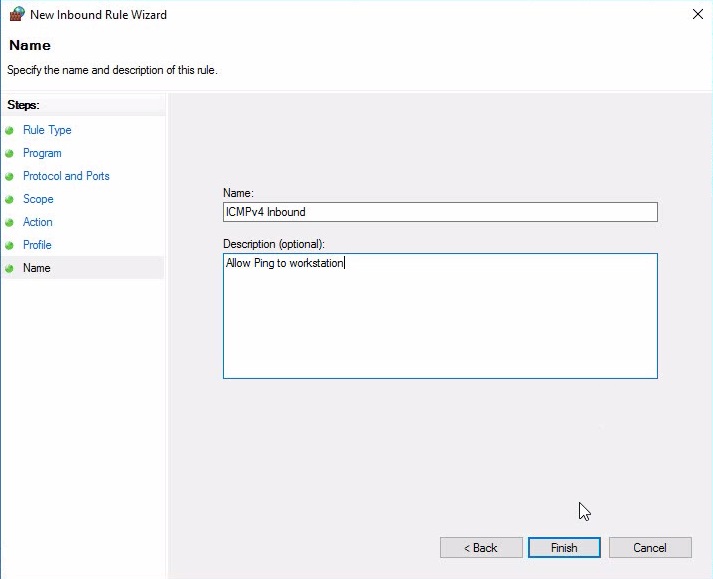
10. Give the rule a meaningful name and a description, finally click “Finish”
The newly created rule will appear in the rules section

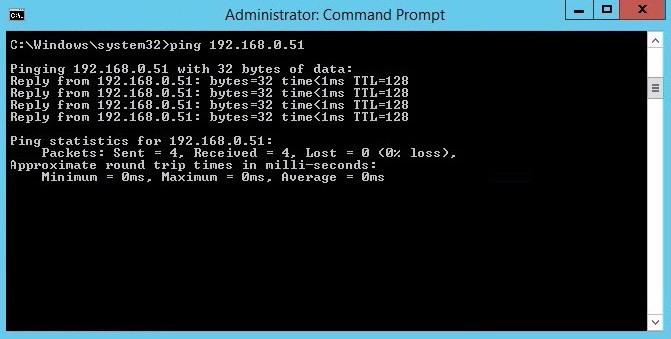
Test ping to make sure ICMP is now allowed
1. From another machine on the same subnet, launch CMD and test that ping is now able to reach the configured machine. you should receive a reply which indicates the newly created rule is working
